
Tom
Full Access Member
Covering your Interior pillars With Fabric.
Materials needed-
2-3 yards of material(I messed up twice, so the extra fabric helped)
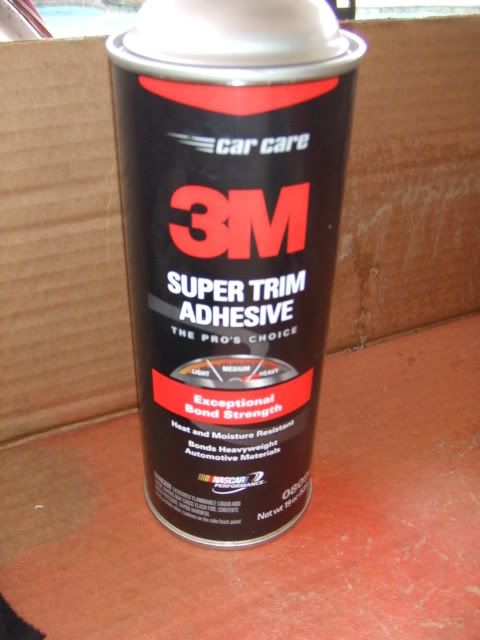
3M Super Adhesive ($15)
Acetone($10)
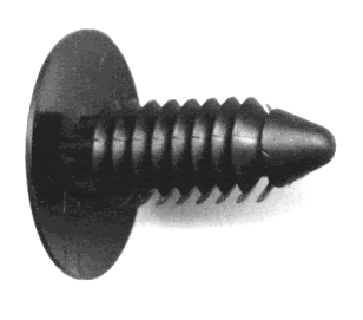
2 Plastic Push fasteners(optional) (i already had a variety pack of these on hand, but there real inexpensive)
[Not covering pilliar removal]
-------------------------------
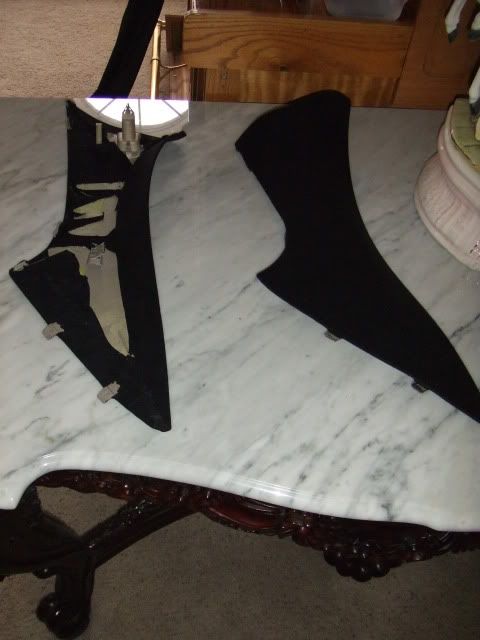
Prep Work
Wipe down your pilliar, with acetone using a soft cloth. this will remove any contaminants that may interfere with the glues adhesion.
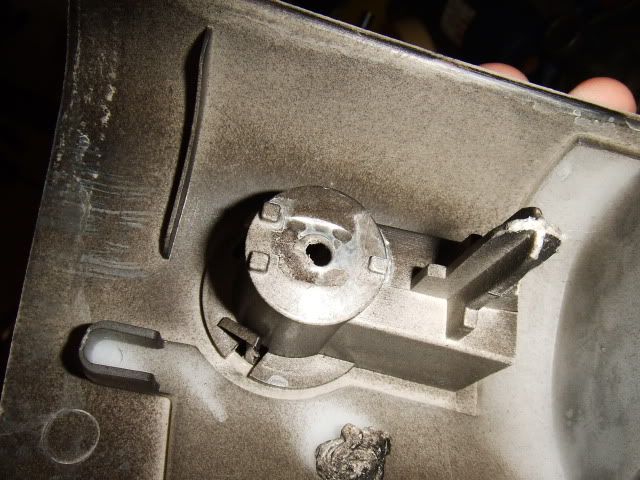
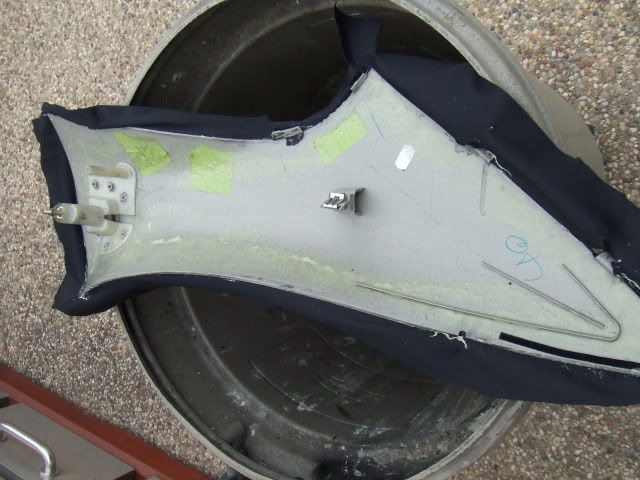
The front Pillars have a torx head screws at the very top(round caps) So when covering the panel you have 2 choices.
With an exacto knife,after you material is applied and dried, you can cut out the circle in the fabric and then paint the cap to match.
or
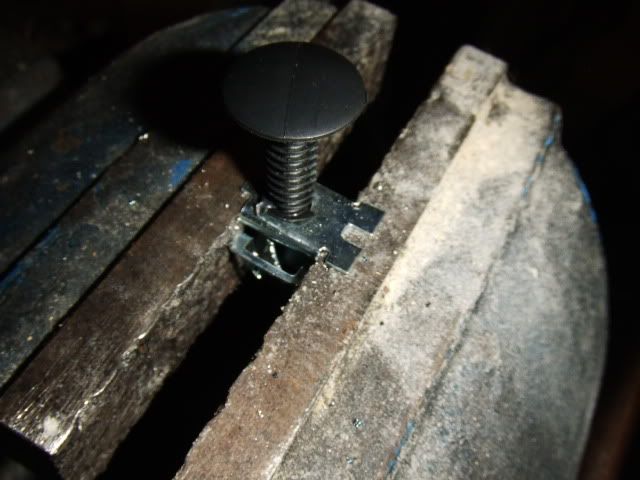
Convert it to a push fastener like so(cleaner look)
drill a hole slightly smaller then the fastener,
then push the fastener in(must be snug,you can add hot glue on top of the fastener for added peace of mind haha)
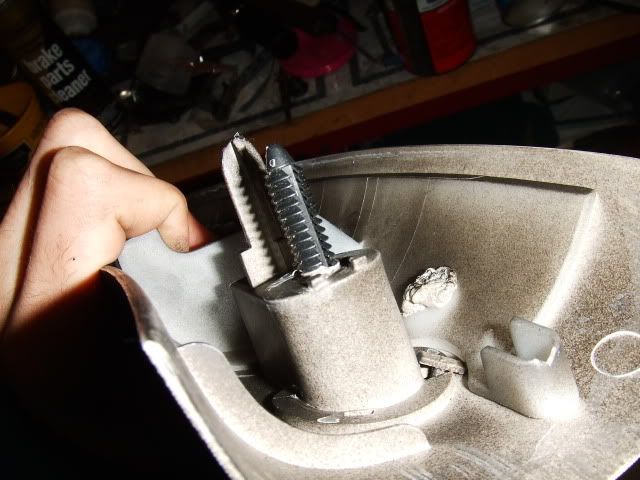
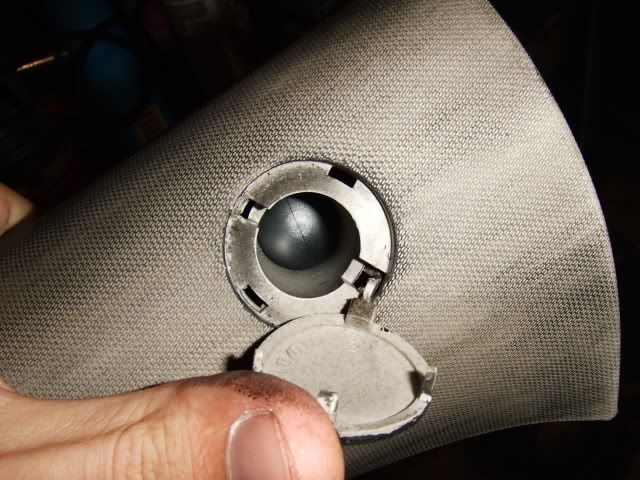
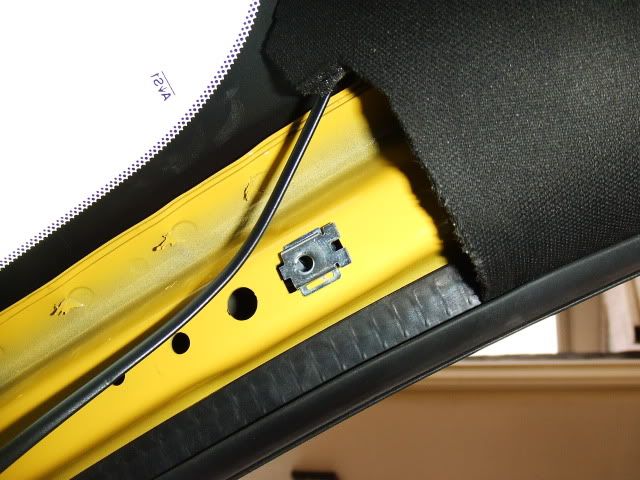
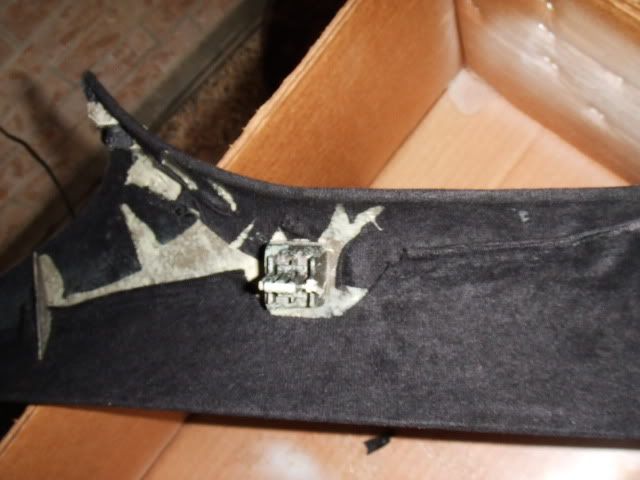
Then remove the old clip,(I used a small flathead screwdriver and carefully pried it out)
Drill it smaller then the fastener too.

Then reinstall the clip.
---------------
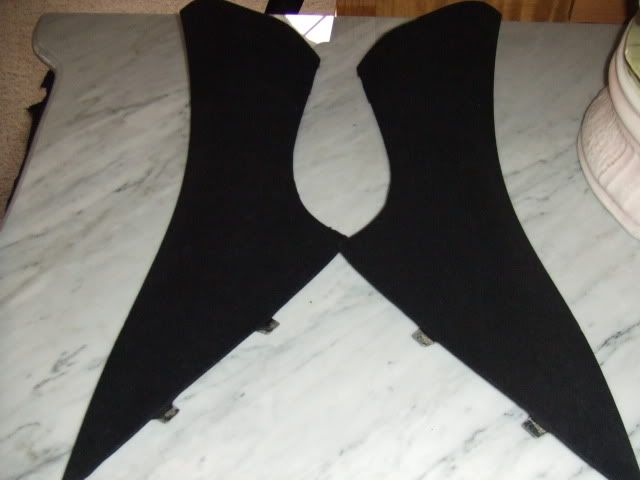
Cut your material in a rectangle shape, make sure its 3inches larger(make sure its larger then the panel itself.)The larger the fabric the easy it is to work with+ you will need enough to wrap around the edges a good 1 to 2inches
-----------------
Wrapping the Panel
Step 1.After reading the glues instructions/warnings. Spray on a generous amount of glue on the front of your panel, paying close attention to the edges! Let the glue tack up, for at least 2-5mins, before laying down your material.
Note: If your covering the panel in a vinyl you can spray the back of it instead of the panel, fabrics like suede, the glue will bleed through if applied directly on the material.
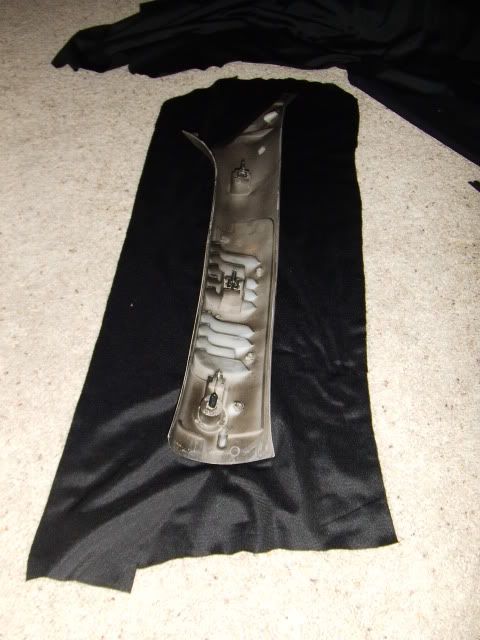
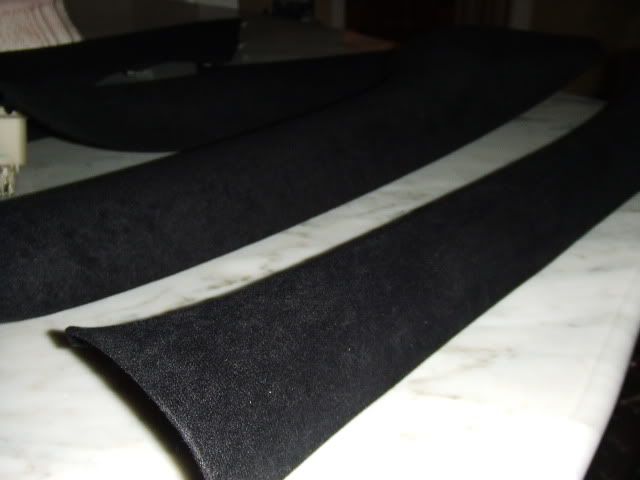
Step 2, lay the fabric/material on top of the panel.
Starting in the middle of the panel working out, Start with light pressure smoothing out the material over your panel.
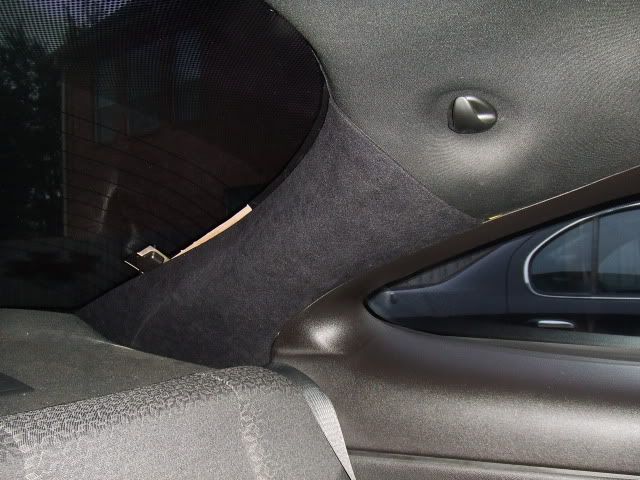
should end up looking like this.
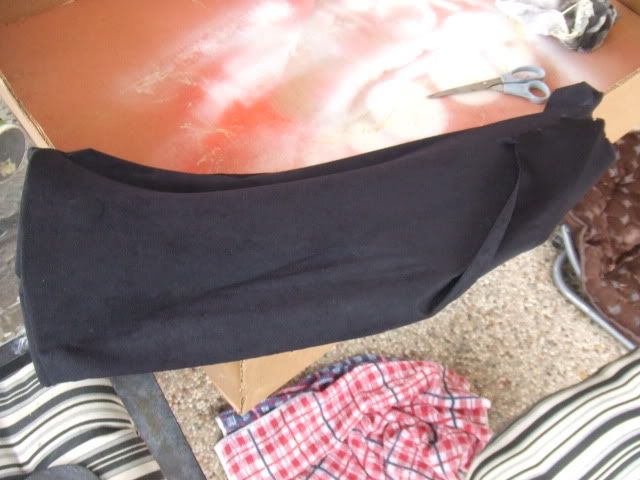
the major curves of the panel may make it a little tight to pull, so cut little slits wheres it arch's,just be very careful not to cut to much.(you can see them on the pics below)
Step 3.
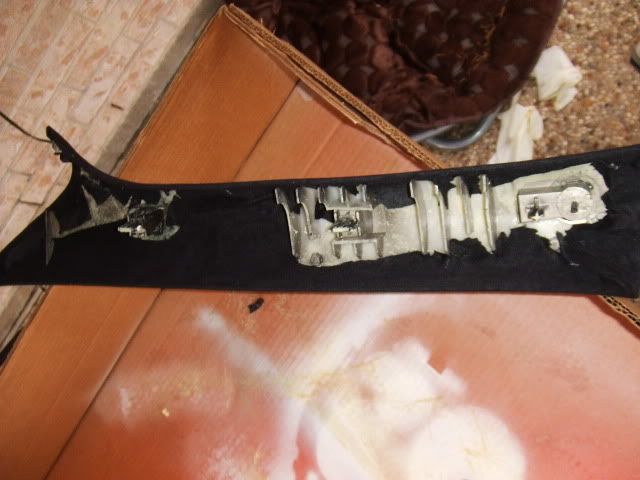
flip the panel to spray, again pay attention to the edges, middle not so much. Careful not to get glue on top of your material!
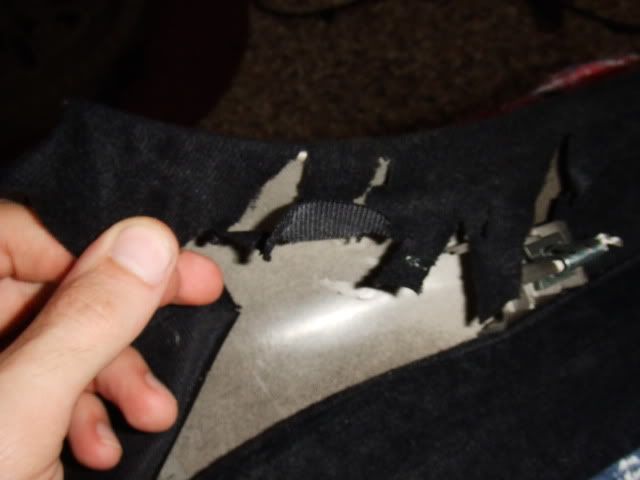
let it tack up 2-5mins, and the tightly wrap the fabric around the edge and trip with a razor blade as needed.[Note: On the Rear panels make sure to cut openings for the tabs.]
Let them dry,then re-install
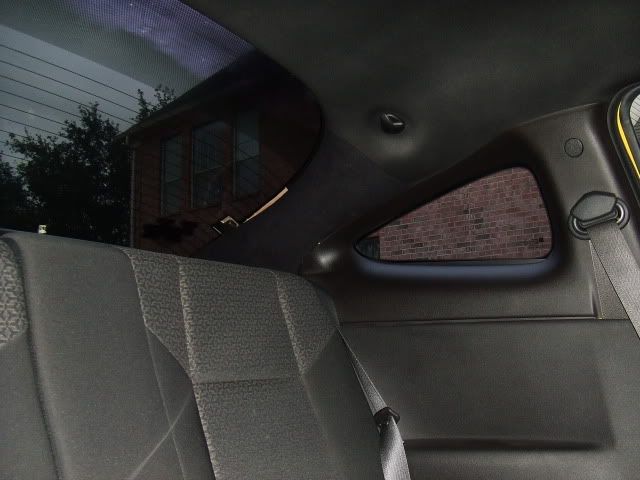
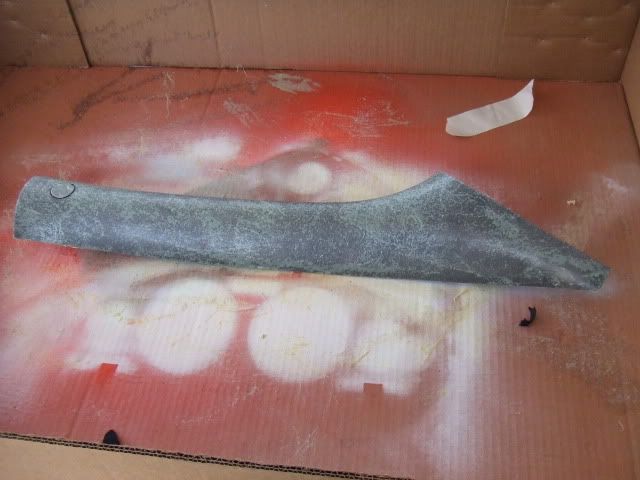
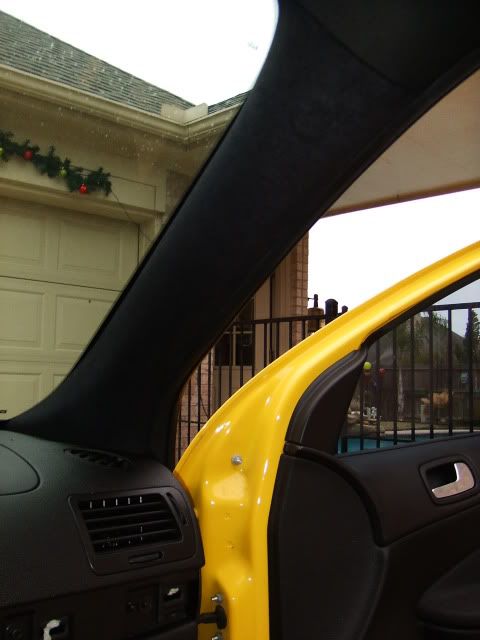
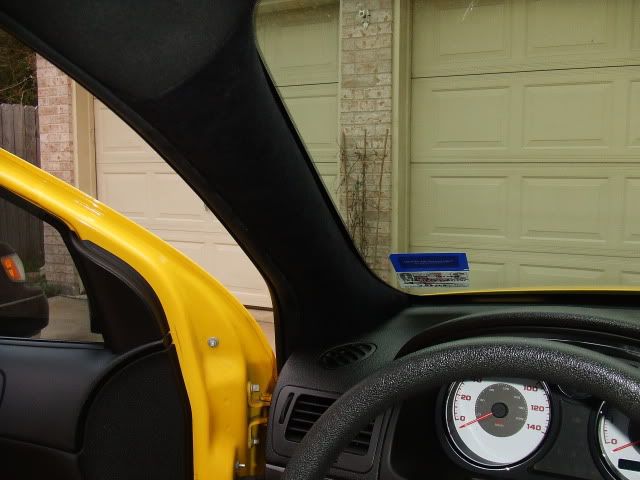
Installed
Front
Rear
Materials needed-
2-3 yards of material(I messed up twice, so the extra fabric helped)
3M Super Adhesive ($15)
Acetone($10)
2 Plastic Push fasteners(optional) (i already had a variety pack of these on hand, but there real inexpensive)
[Not covering pilliar removal]
-------------------------------
Prep Work
Wipe down your pilliar, with acetone using a soft cloth. this will remove any contaminants that may interfere with the glues adhesion.
The front Pillars have a torx head screws at the very top(round caps) So when covering the panel you have 2 choices.
With an exacto knife,after you material is applied and dried, you can cut out the circle in the fabric and then paint the cap to match.
or
Convert it to a push fastener like so(cleaner look)
drill a hole slightly smaller then the fastener,
then push the fastener in(must be snug,you can add hot glue on top of the fastener for added peace of mind haha)
Then remove the old clip,(I used a small flathead screwdriver and carefully pried it out)
Drill it smaller then the fastener too.
Then reinstall the clip.
---------------
Cut your material in a rectangle shape, make sure its 3inches larger(make sure its larger then the panel itself.)The larger the fabric the easy it is to work with+ you will need enough to wrap around the edges a good 1 to 2inches
-----------------
Wrapping the Panel
Step 1.After reading the glues instructions/warnings. Spray on a generous amount of glue on the front of your panel, paying close attention to the edges! Let the glue tack up, for at least 2-5mins, before laying down your material.
Note: If your covering the panel in a vinyl you can spray the back of it instead of the panel, fabrics like suede, the glue will bleed through if applied directly on the material.
Step 2, lay the fabric/material on top of the panel.
Starting in the middle of the panel working out, Start with light pressure smoothing out the material over your panel.
should end up looking like this.
the major curves of the panel may make it a little tight to pull, so cut little slits wheres it arch's,just be very careful not to cut to much.(you can see them on the pics below)
Step 3.
flip the panel to spray, again pay attention to the edges, middle not so much. Careful not to get glue on top of your material!
let it tack up 2-5mins, and the tightly wrap the fabric around the edge and trip with a razor blade as needed.[Note: On the Rear panels make sure to cut openings for the tabs.]
Let them dry,then re-install
Installed
Front
Rear