
bbrewbaker
Full Access Member
So this is for those of you who want to swap out gauge clusters.
I haven't done this. I got this from another forum.
A few notes on compatibility: If you buy a cluster from the same year as your vehicle, it will work with full functionality (DIC), otherwise only your odometer and outside temp will work. As far as I know '05 and '06 can be interchanged year wise and have full functionality. '07 for an '07, '08 for '08, you get it. The speedometer will not have to be recalibrated because the signal is electronic and all the clusters know what a "50 mph signal" is and translate it accordingly.
The swap itself is rather easy.
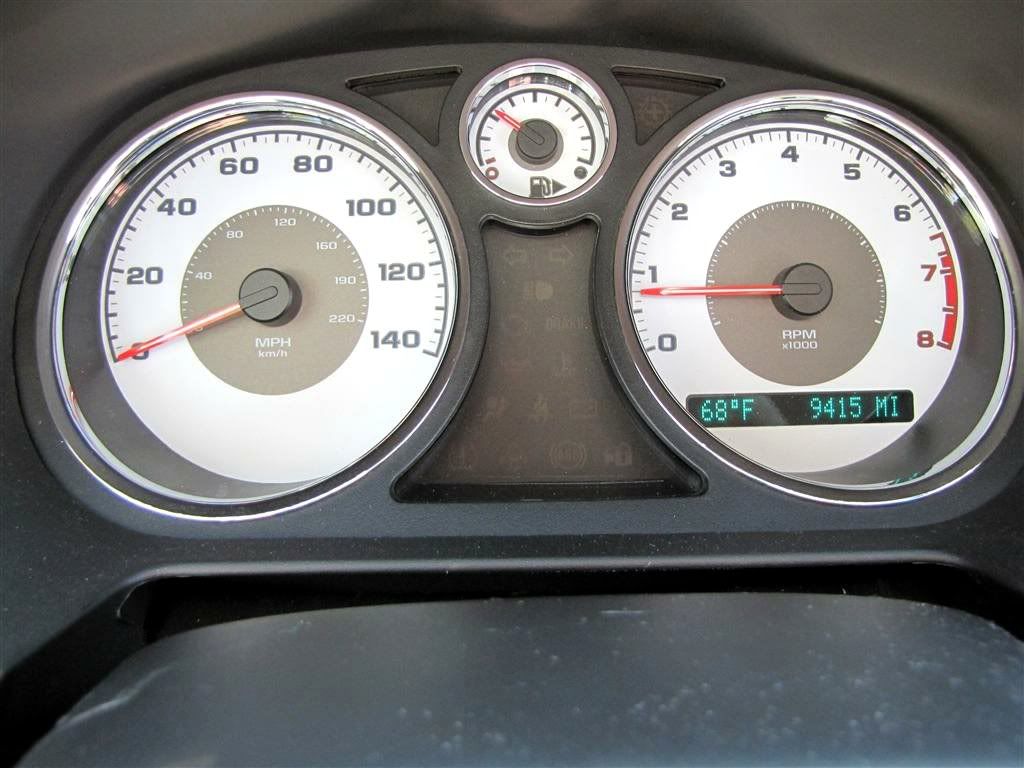
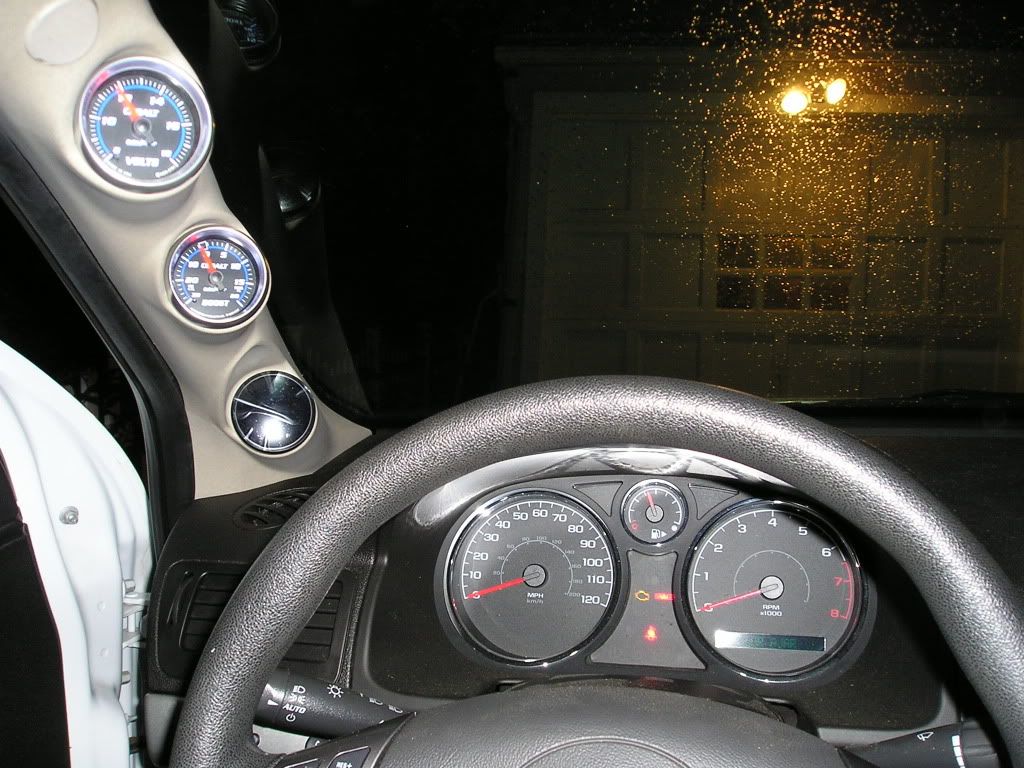
So here's what I started with (old pic - during the SC swap, deal with it )
)
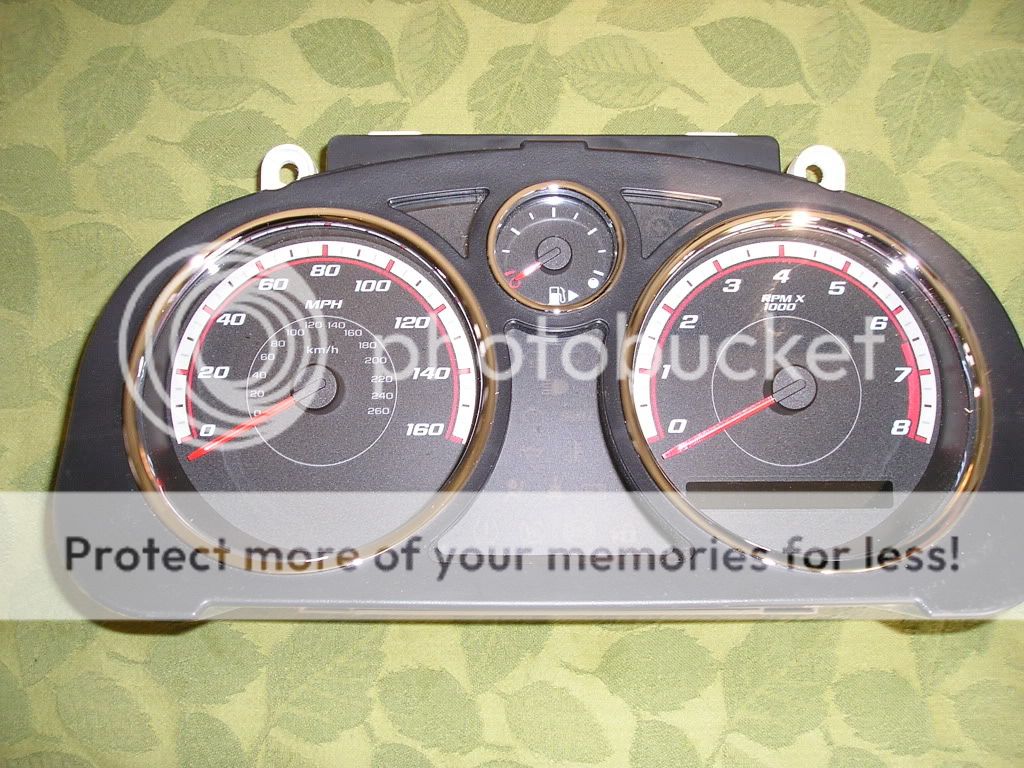
And here's the 2007 SS/SC 160mph cluster I bought
So, our objective is to put the new cluster where the old one went.
Tools you'll need:
Phillips screwdriver (if possible, get a very short stubby one)
Small flat-blade screwdriver (like the pocket sized ones)
Socket wrech and/or nut driver
7mm socket
Optional: A hook tool of sorts.
Should about cover it, toolwise.
So you're going to want to start my getting into your car.
Then sit in the seat...or don't, that's your choise. :bigsmile:
1. Start by removing the lower dash panel (the big one). For those who don't know, it is attached via clips, and just pulls off. Just give it a quick tug in the corners and you'll see how it comes off.
2. Now take the trim pieces off (left and right sides of the steering wheel). These things are on there pretty tight, but still with clips, so it takes some effort to pull them off. They're pretty thick, so just give it some even firm pressure and it'll come off. A hook tool might prove helpful here.
3. Remove the two Phillips screws from the bottom side of the top of the cluster bezel. There should be two screws on the bottom attachments to the dash as well. You'll also notice there is a star piece lock washer of sorts on the pins that guide the bottom of the bezel into place. You'll want to carefully pry the inside edges up with the small screwdriver until it is loose and you can pull the bezel off the pin. Keep these stars for later.
4. Remove the bezel. This can be kind of tricky, but you just have to look at it and see how to pull it out. Pulling the steering wheel down is a must here. You have to rotate it around the turn signal stalk and out. It's hard to describe, but you'll see what I mean
5. You'll now see the four 7mm bolts that secure the cluster to the dash. Remove these. Some might be tricky because of the location, they might be hard to turn the socket wrench or nut driver, but you'll get it, just take your time.
6. Pull the cluster out a little bit, but not very far and turn it towards the passenger side of the car, just enough to get your hand behind it and disconnect the harness connection (there's a tab on the top, just push it down and pull it out of the cluster).
7. Pull the cluster all the way out. Ta-da. You're half way there!
You should have this.

This image shows the locations of where bolts will go (didn't really take any step by step shots, this was an afterthought). Red is cluster bolts, Blue is bezel bolts (the bottom left shows one of the pins I was talking about, the bolt hole is above it - likewise on the right side of the steering wheel) and green is the harness connector.

Comparison - Old vs New:

8. Set your cluster into the housing, and connect it to the harness.
9. Turn your key to the on position to make sure everything works (would suck to have it all back together and notice it didn't work, huh? :idea

10. Once you've verified it works, secure the new cluster via the four 7mm bolts that held the old one in.
11. Finesse the cluster bezel back into place, (make sure it's on the pins, and that everything lines up pretty evenly). Put the screws back in the top and the bolts back in the bottom. Put the stars back on the pegs and resecure them. You can do this one of two ways. A) use your flat-blade screwdriver and push the little "wings" back down till it doesn't move any more or B) use a socket just bigger than the peg and push down, it should seat the wings for the most part.
12. Reattach the trim by simply snapping it back on.
13. Put the lower dash panel cover back on by snapping it back on.
14. Admire your work
15. Go drive your car and peg your speedo. (I take no responsibility if you get a ticket/reckless driving/license suspended)


I haven't done this. I got this from another forum.
A few notes on compatibility: If you buy a cluster from the same year as your vehicle, it will work with full functionality (DIC), otherwise only your odometer and outside temp will work. As far as I know '05 and '06 can be interchanged year wise and have full functionality. '07 for an '07, '08 for '08, you get it. The speedometer will not have to be recalibrated because the signal is electronic and all the clusters know what a "50 mph signal" is and translate it accordingly.
The swap itself is rather easy.
So here's what I started with (old pic - during the SC swap, deal with it
)
And here's the 2007 SS/SC 160mph cluster I bought
So, our objective is to put the new cluster where the old one went.
Tools you'll need:
Phillips screwdriver (if possible, get a very short stubby one)
Small flat-blade screwdriver (like the pocket sized ones)
Socket wrech and/or nut driver
7mm socket
Optional: A hook tool of sorts.
Should about cover it, toolwise.
So you're going to want to start my getting into your car.
Then sit in the seat...or don't, that's your choise. :bigsmile:
1. Start by removing the lower dash panel (the big one). For those who don't know, it is attached via clips, and just pulls off. Just give it a quick tug in the corners and you'll see how it comes off.
2. Now take the trim pieces off (left and right sides of the steering wheel). These things are on there pretty tight, but still with clips, so it takes some effort to pull them off. They're pretty thick, so just give it some even firm pressure and it'll come off. A hook tool might prove helpful here.
3. Remove the two Phillips screws from the bottom side of the top of the cluster bezel. There should be two screws on the bottom attachments to the dash as well. You'll also notice there is a star piece lock washer of sorts on the pins that guide the bottom of the bezel into place. You'll want to carefully pry the inside edges up with the small screwdriver until it is loose and you can pull the bezel off the pin. Keep these stars for later.
4. Remove the bezel. This can be kind of tricky, but you just have to look at it and see how to pull it out. Pulling the steering wheel down is a must here. You have to rotate it around the turn signal stalk and out. It's hard to describe, but you'll see what I mean
5. You'll now see the four 7mm bolts that secure the cluster to the dash. Remove these. Some might be tricky because of the location, they might be hard to turn the socket wrench or nut driver, but you'll get it, just take your time.
6. Pull the cluster out a little bit, but not very far and turn it towards the passenger side of the car, just enough to get your hand behind it and disconnect the harness connection (there's a tab on the top, just push it down and pull it out of the cluster).
7. Pull the cluster all the way out. Ta-da. You're half way there!
You should have this.
This image shows the locations of where bolts will go (didn't really take any step by step shots, this was an afterthought). Red is cluster bolts, Blue is bezel bolts (the bottom left shows one of the pins I was talking about, the bolt hole is above it - likewise on the right side of the steering wheel) and green is the harness connector.
Comparison - Old vs New:
8. Set your cluster into the housing, and connect it to the harness.
9. Turn your key to the on position to make sure everything works (would suck to have it all back together and notice it didn't work, huh? :idea
10. Once you've verified it works, secure the new cluster via the four 7mm bolts that held the old one in.
11. Finesse the cluster bezel back into place, (make sure it's on the pins, and that everything lines up pretty evenly). Put the screws back in the top and the bolts back in the bottom. Put the stars back on the pegs and resecure them. You can do this one of two ways. A) use your flat-blade screwdriver and push the little "wings" back down till it doesn't move any more or B) use a socket just bigger than the peg and push down, it should seat the wings for the most part.
12. Reattach the trim by simply snapping it back on.
13. Put the lower dash panel cover back on by snapping it back on.
14. Admire your work
15. Go drive your car and peg your speedo. (I take no responsibility if you get a ticket/reckless driving/license suspended
)