
ff_drift_lol
Full Access Member
so my half shaft bearing was screwed from when i broke an axle. i never replaced it cause i couldnt get it that day but i had to replace the mount so i re used the old one. they do go bad occasionally, and it involves changing your tranny fluid on an mu3 f35 tranny along with removing your passenger side axle and half shaft and replacing them, so it should be a good resource.
it's an extensive repair so please feel free to correct me if i am doing anything wrong or left anything out.
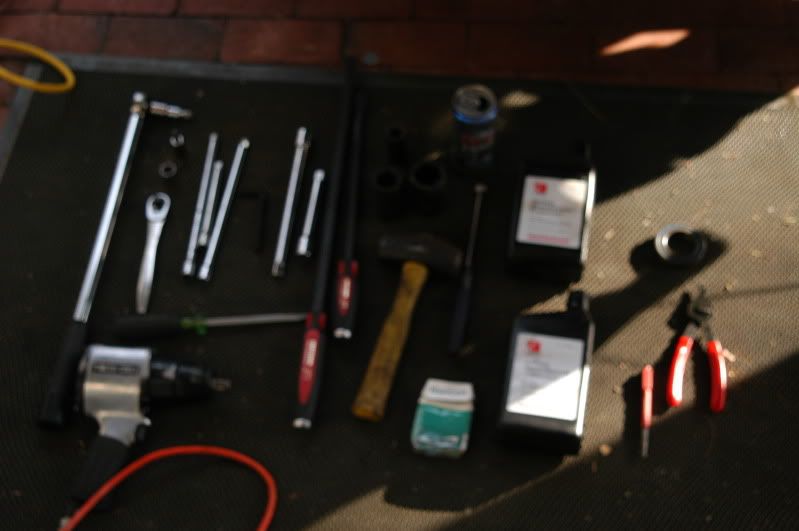
you will need:
impact gun
impact sockets metric
torque wrench
3/8 ratchet
a healthy amount of extensions
pry bars
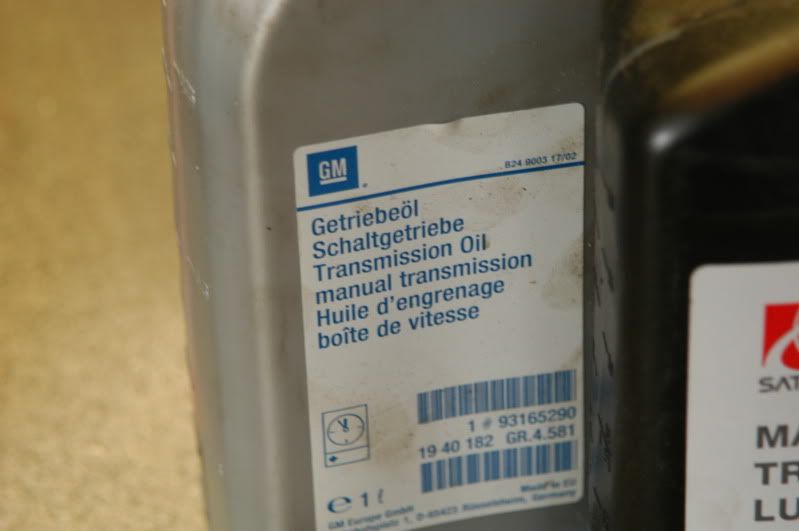
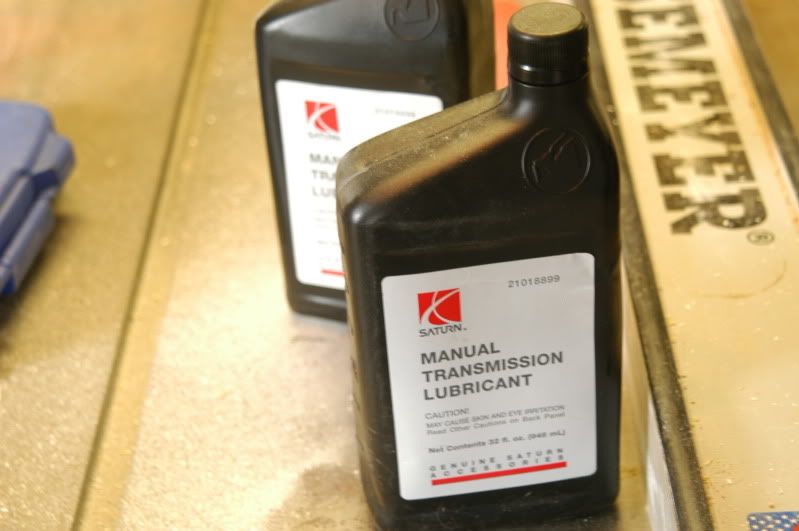
manual transmission fluid
2 quarts of this saturn stuff (gm p# 21018899), or 2 liters of the saab stuff (saab p#93165290)
lump hammer
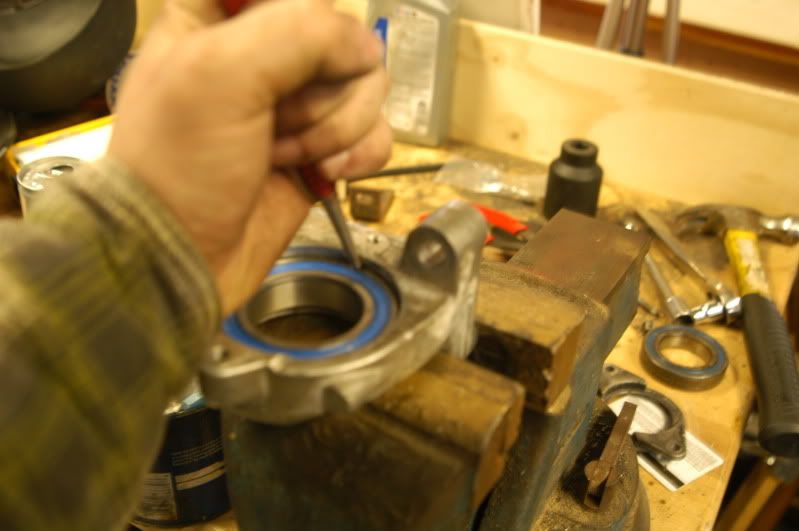
snap ring pliers
awl
8mm hex socket
8mm hex key
cheater bar
magnetic tool
beer
cigs
 assuming you know how to jack up a car, remove both front wheels.
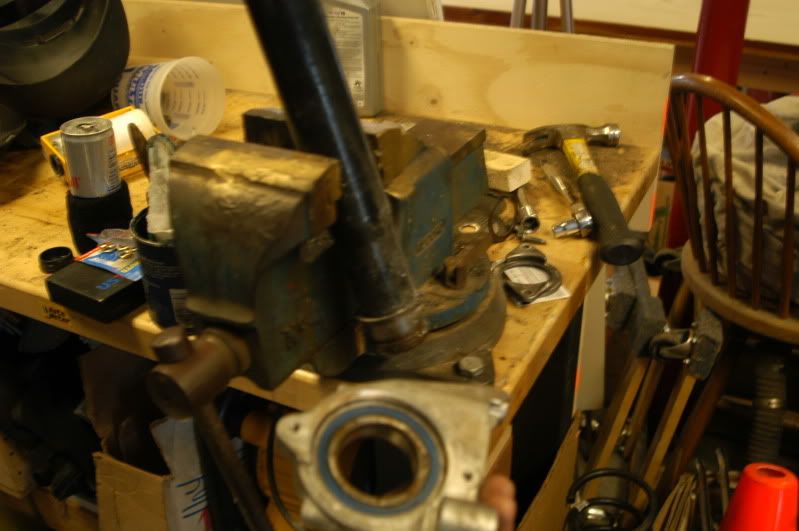
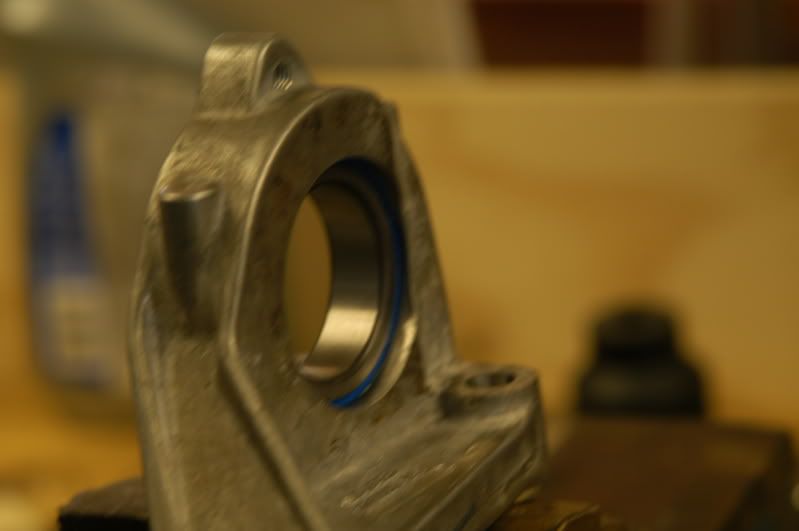
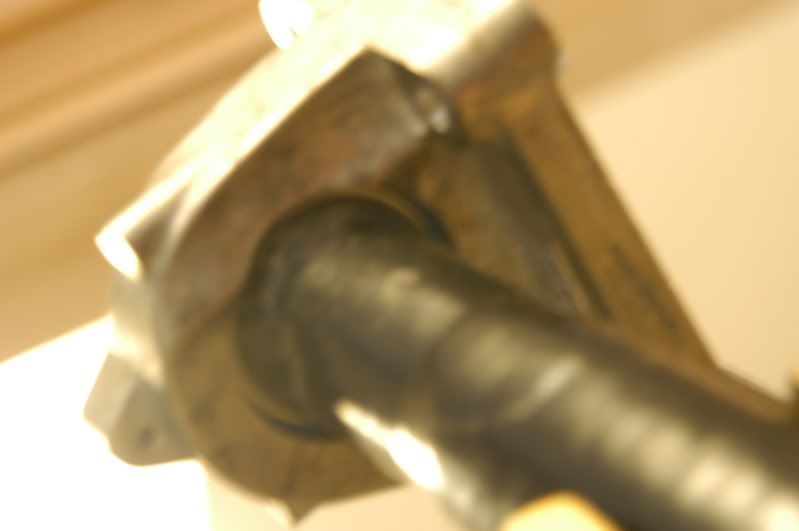
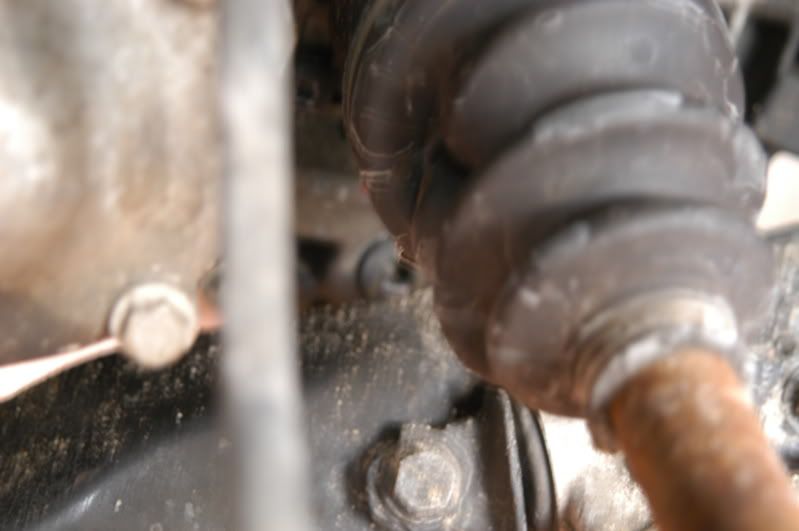
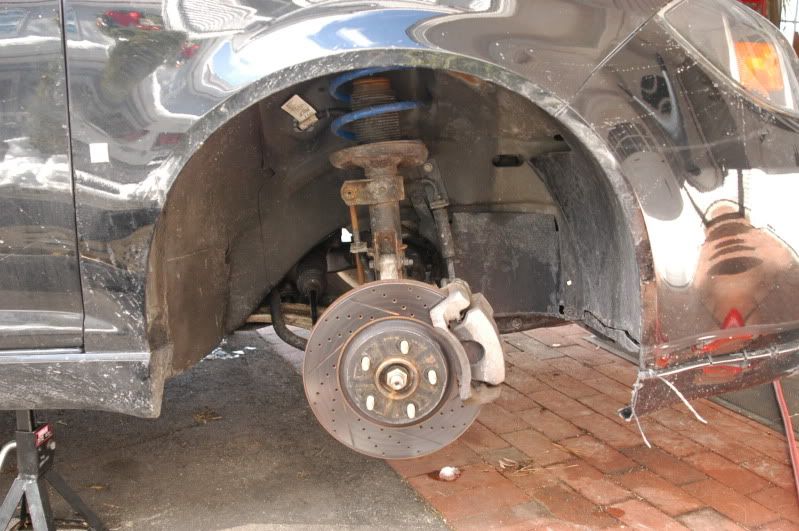
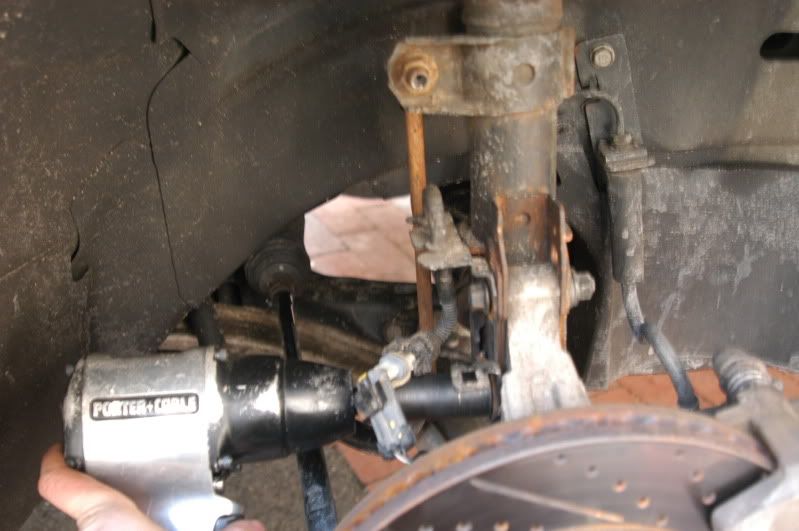
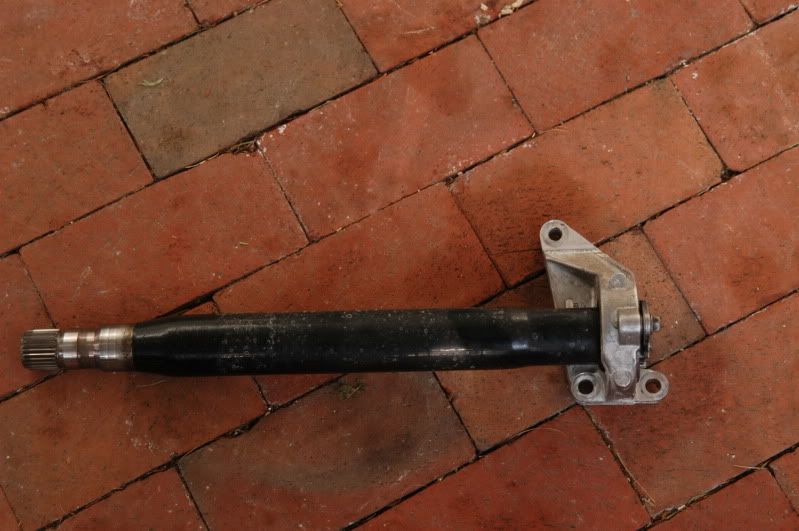
 here's our half shaft and mount. there's 3 bolts around it. this is what we need to remove
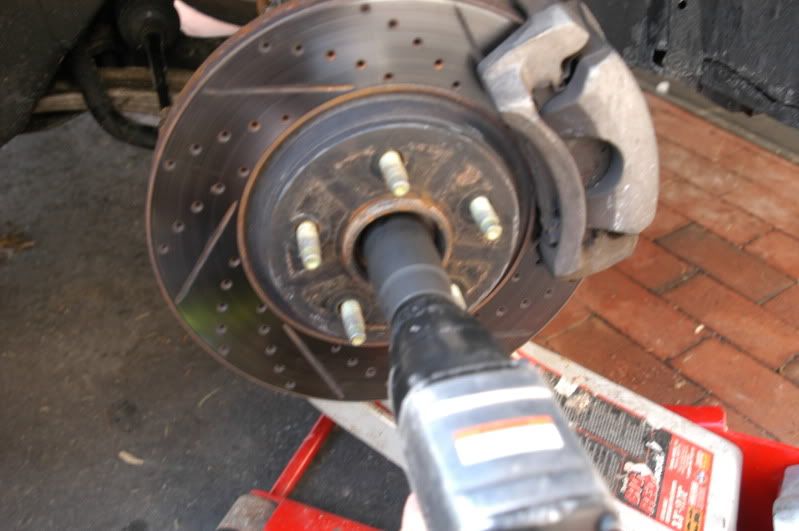 start by removing the axle nut. i used an inch and 3/16 socket but it wasn't as snug as i'd like it to be (it's actually a metric nut). worked just fine either way. you can put the car in gear and do it by hand or just use an impact gun.
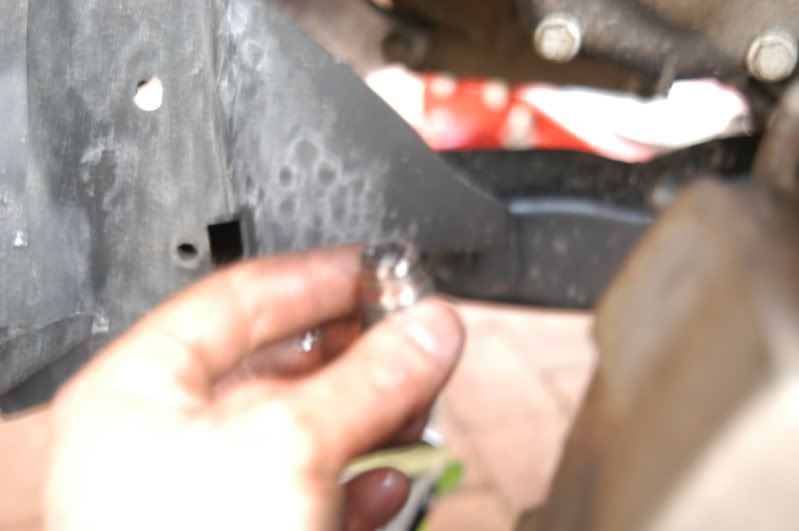
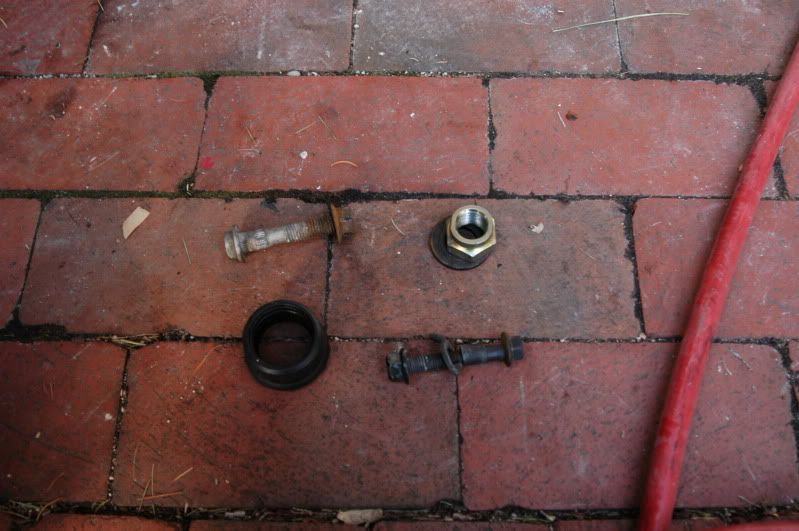
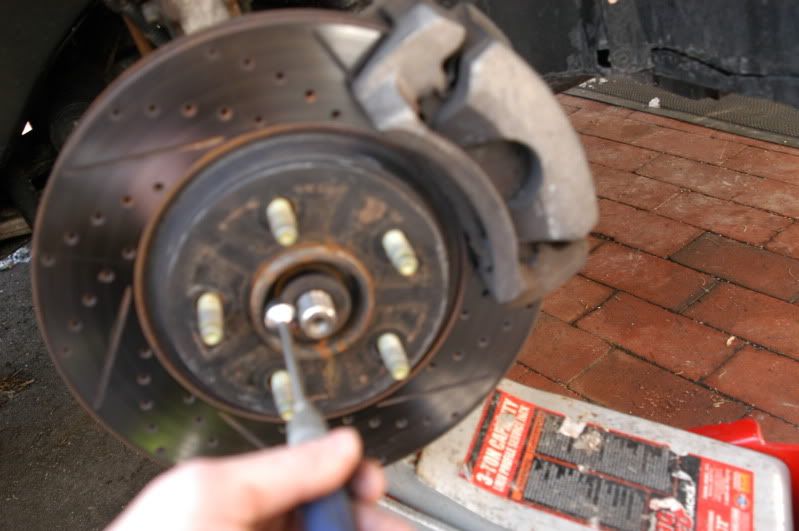 use a magnetic tool to remove the washer behind the nut.
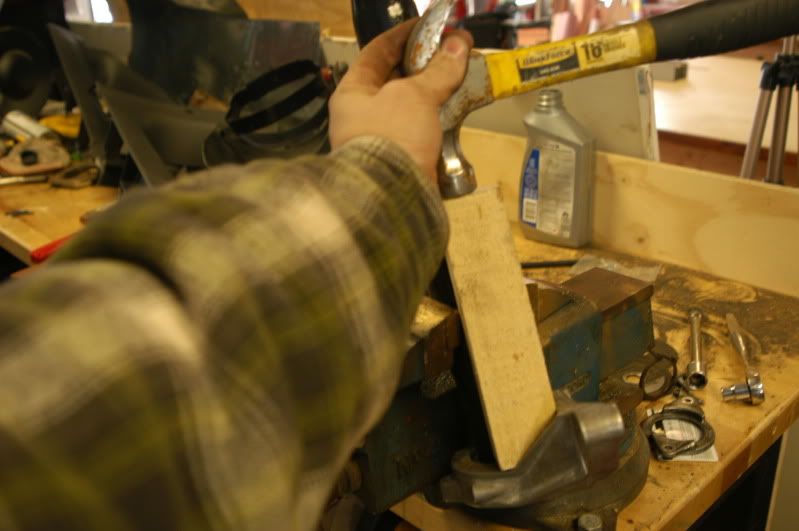
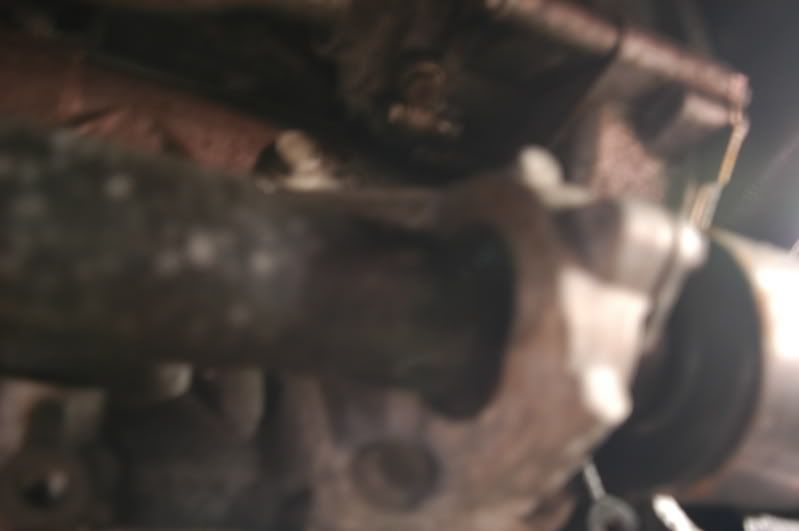
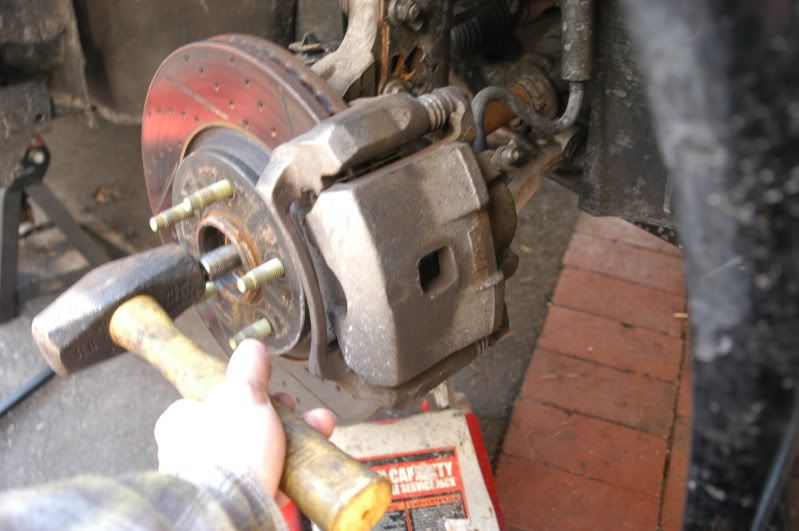 bang it with a lump hammer it should pop out on the first swing. there's an indent on the end of the shaft for an air chisel with an awl attachment which is the right way to do it. most of my good tools are at work so this will do.
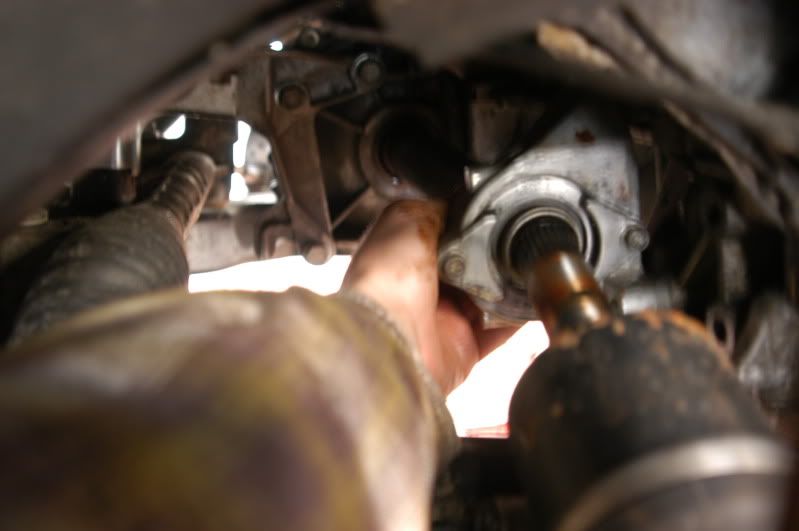
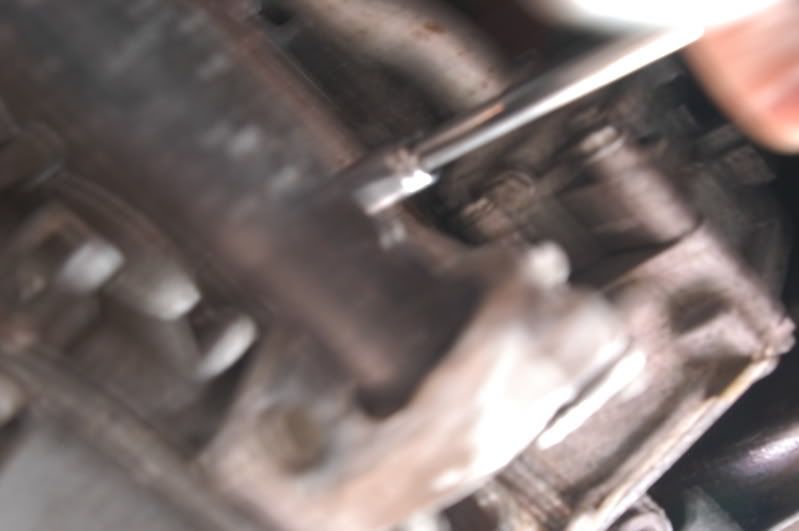
pry out the cv joint with a pry bar. use the bolts for leverage, not the mount. the mount is aluminum and pretty weak. if you cant get it out this way, take a big half inch extension and bang the end of it onto the cage of the cv joint it should pop out easily.
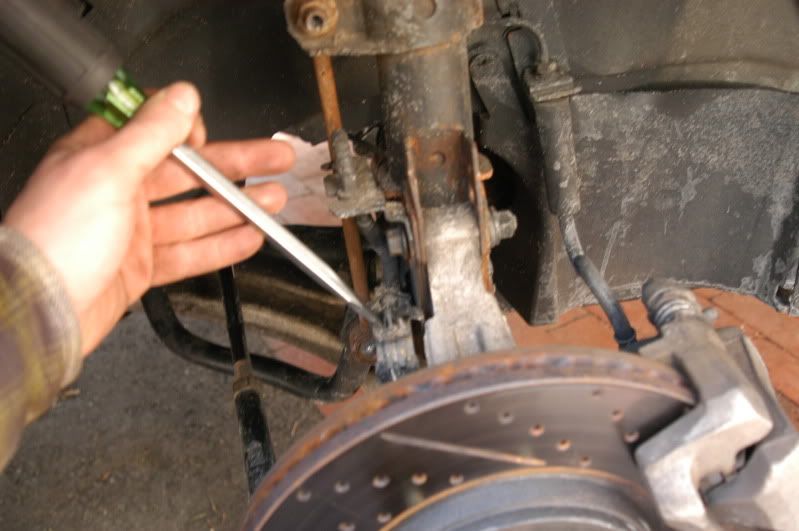 over to the strut now. remove the abs connector.
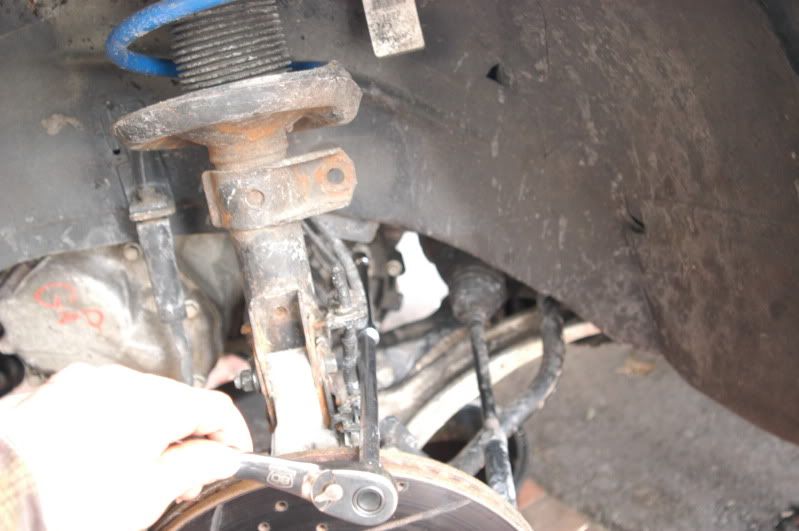
 now zip out the nuts on the strut with an 18mm socket
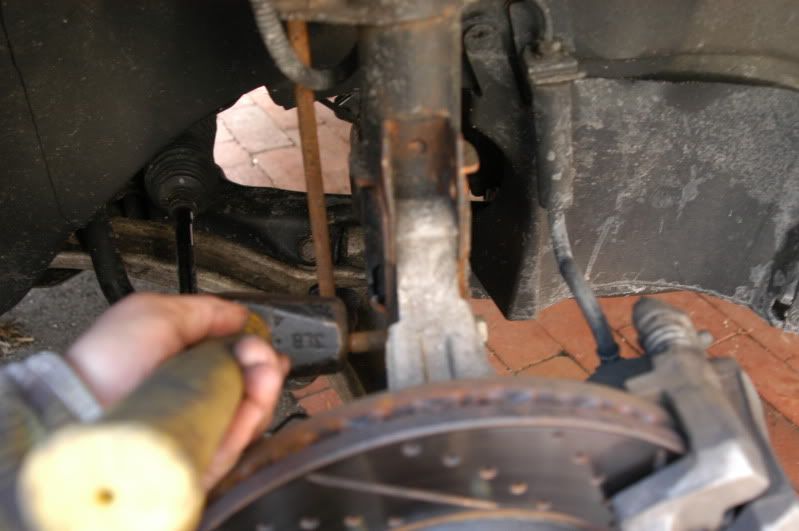 bang that sucker out. careful not to hit the abs connector.
 pull the rest of the axle out and remove that rubber shield
 this is all you should have removed from the car so far.
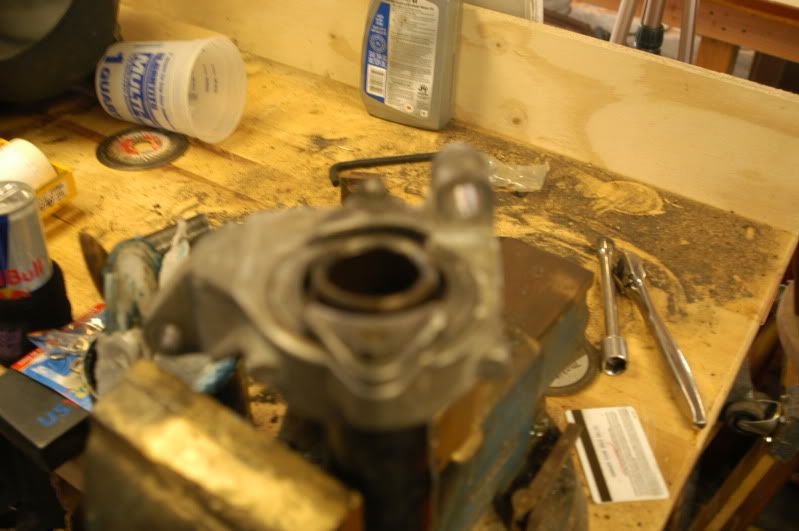
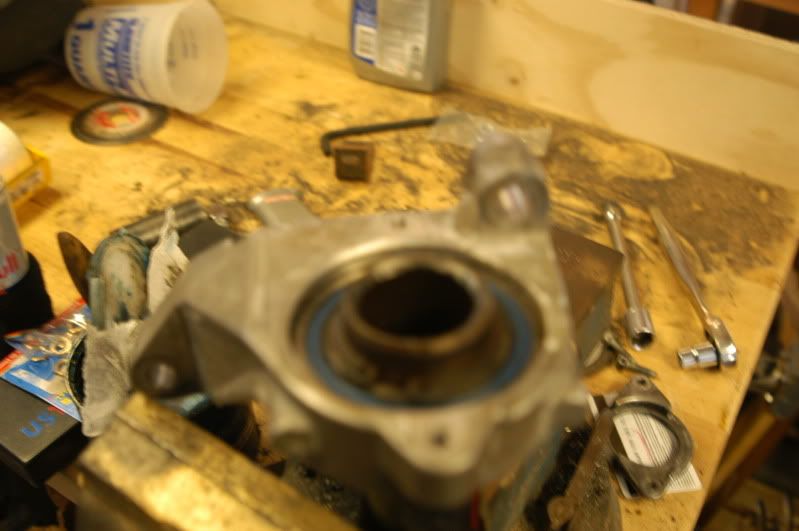
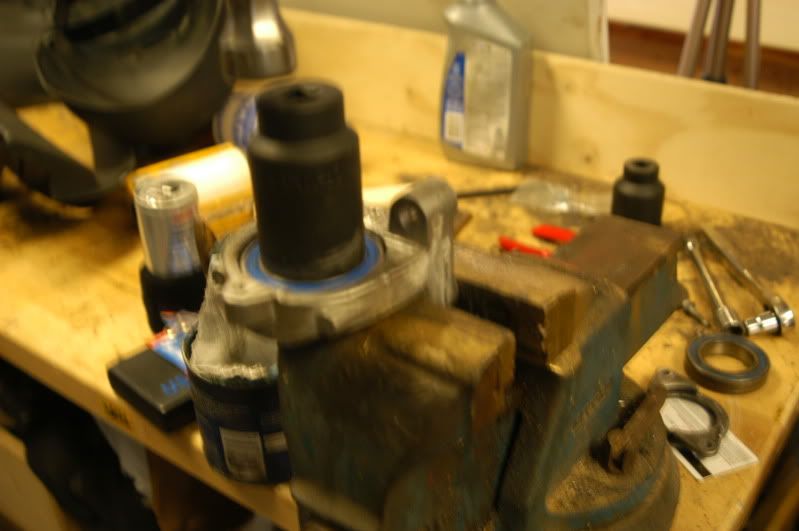
 remove the half shaft mount via the 3 15mm bolts
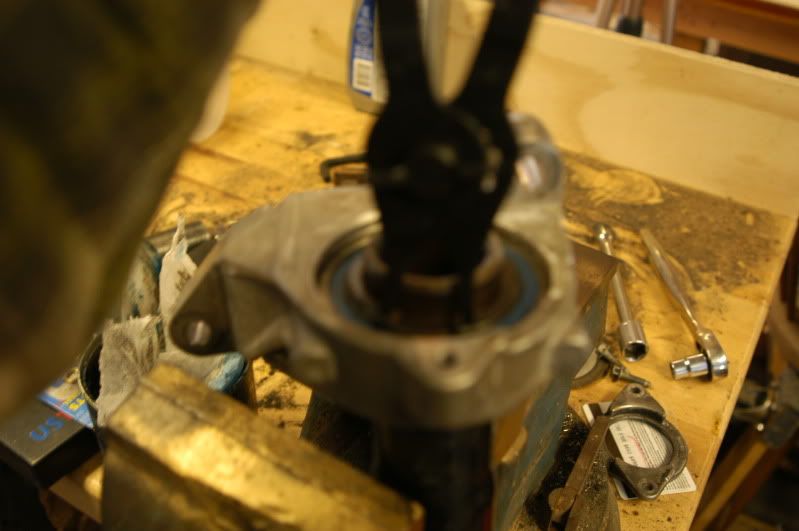
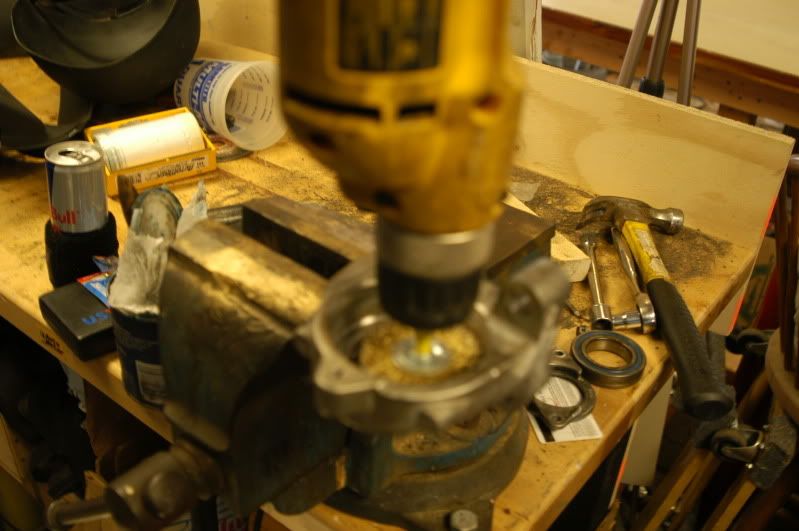
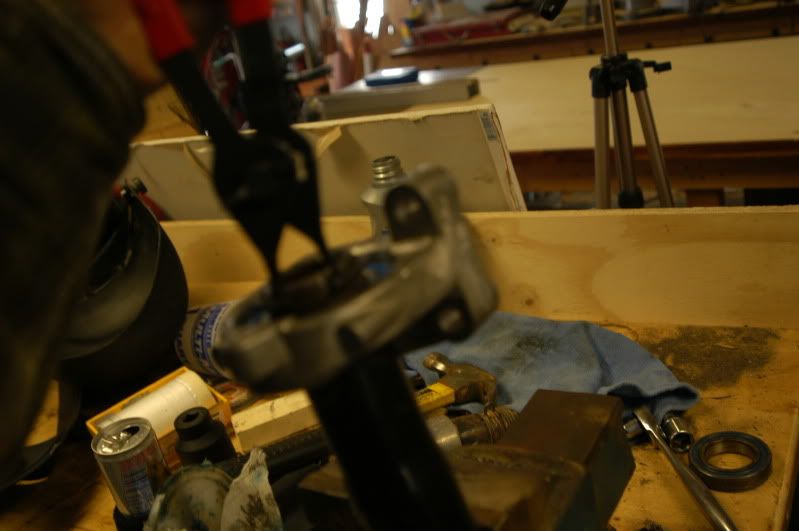
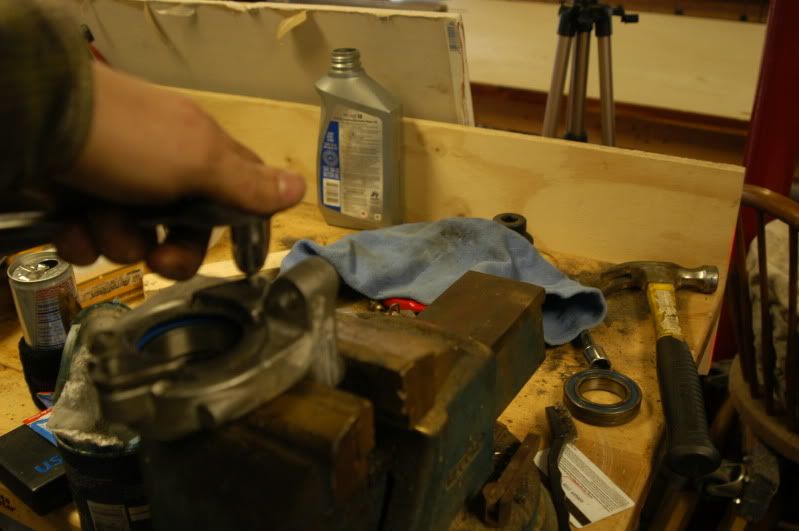
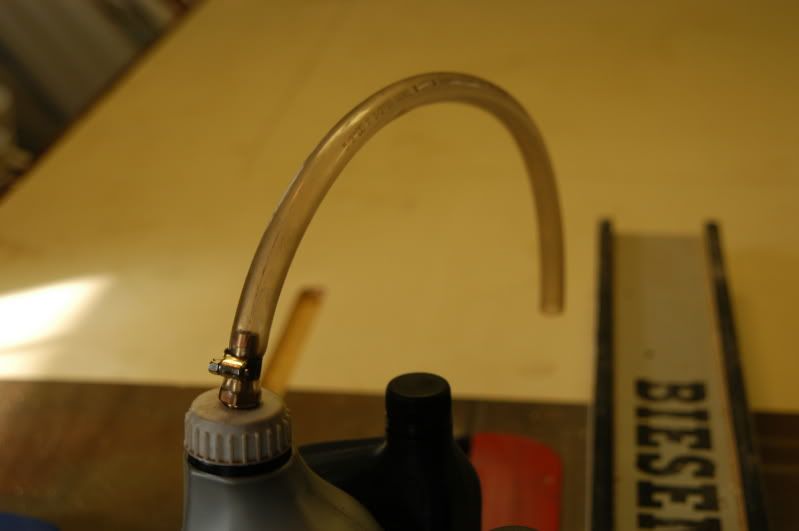
 get a pan ready unless you want tranny fluid on your driveway. remove the half shaft.
 money
money
it's an extensive repair so please feel free to correct me if i am doing anything wrong or left anything out.
you will need:
impact gun
impact sockets metric
torque wrench
3/8 ratchet
a healthy amount of extensions
pry bars
manual transmission fluid
2 quarts of this saturn stuff (gm p# 21018899), or 2 liters of the saab stuff (saab p#93165290)
lump hammer
snap ring pliers
awl
8mm hex socket
8mm hex key
cheater bar
magnetic tool
beer
cigs
pry out the cv joint with a pry bar. use the bolts for leverage, not the mount. the mount is aluminum and pretty weak. if you cant get it out this way, take a big half inch extension and bang the end of it onto the cage of the cv joint it should pop out easily.
Last edited: