

cobalt123
Platinum Member
Disclaimer: I cant take credit for the how-to, if its yours pm me will discuss it there.
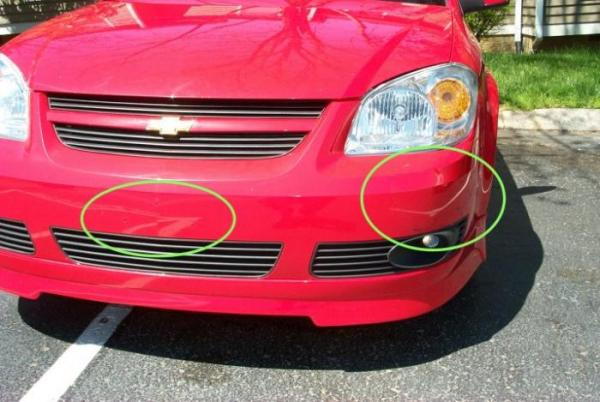
It's been a long time since I've done a good how-to. But this is a good one. At least I hope you'll think so. For some time I've wanted to swap on the SS facia to my LS. Well about 7 months ago I got wacked by a guy that backed into me. Then I moved to Tennessee where there is no front license plate, so I have the drilled holes. So it was time to finally do it. Can't see it too well, but here it is:
mkulrey13 did one a little while ago too if you want to take a look.
In case you have ever wondered if swapping different kinds of facias onto different cars works, it does. There are a couple of issues which I'll show you here. Also, my car has the RK Sport lip on it. You'll see that in the pictures as we go, but don't worry. It doesn't effect anything.
So the first step to any project like this is WASH YOUR SHIT!
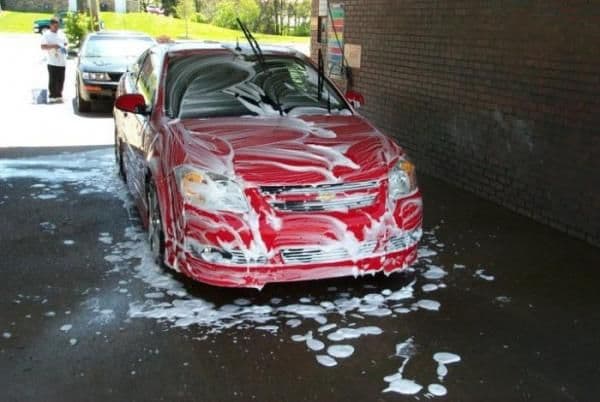
Seriously people. I can't tell you how much it pains me to see people working on their nasty ass, filthy cars. A clean car is a happy car, and it's easier to work on.
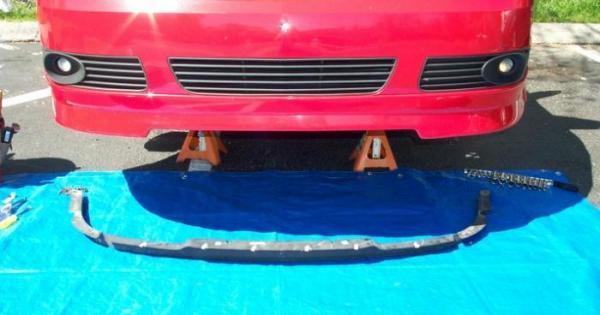
So here's our project:
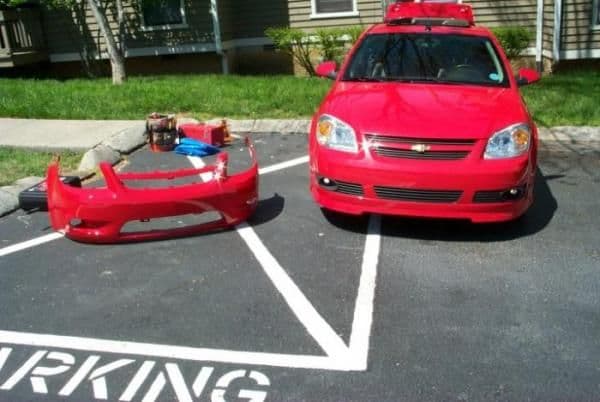
Take that thinggy on the left and swap it with the one on the right. Here's what you need:
Jack and Stands
19mm Socket (wheel lugs) and Driver handles
7 and 10 mm nut drivers or sockets
Assorted screw drivers
Torq's bit drivers (for the fog lights)
Start by getting the car jacked up and take off the front wheels.
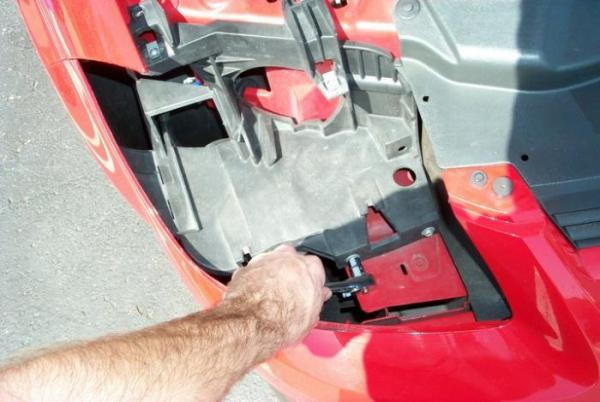
Now we just start taking off fasteners. Start with the wheel well. Theses are 7mm.
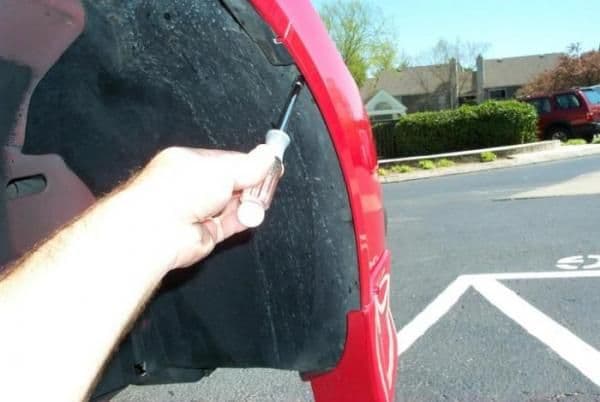
You don't have to completely remove it. After you get it loose from the front, just fold it back for the time being.
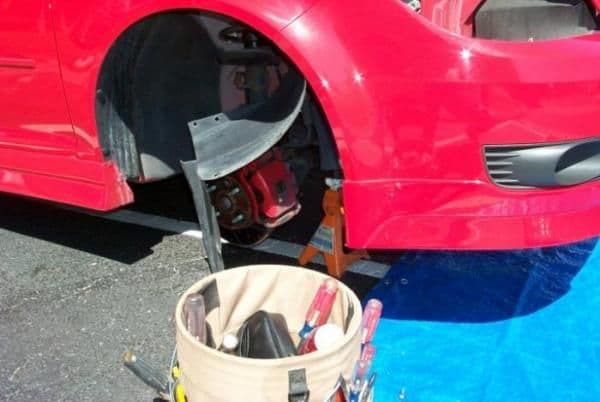
Work your way across underneath, removing all of the fasteners for the lower air dam. There is one push-on fastener at each corner.
At this point, the air dam will be removed. This bring us to issue #1.
The air dam will not work on the different facia. It's a different shape. If you are simply replacing your facia directly, no problem. Otherwise, you won't be able to use this part again. So set it and it's fasteners aside.
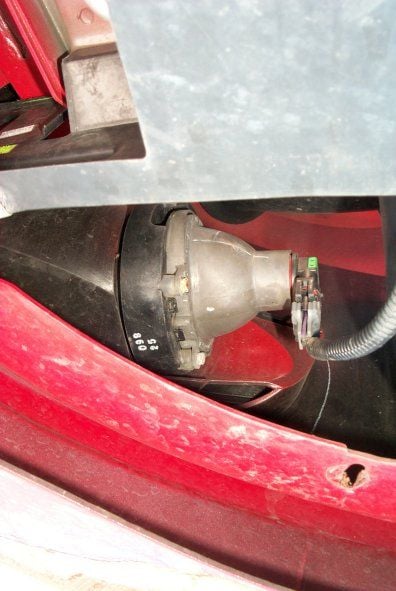
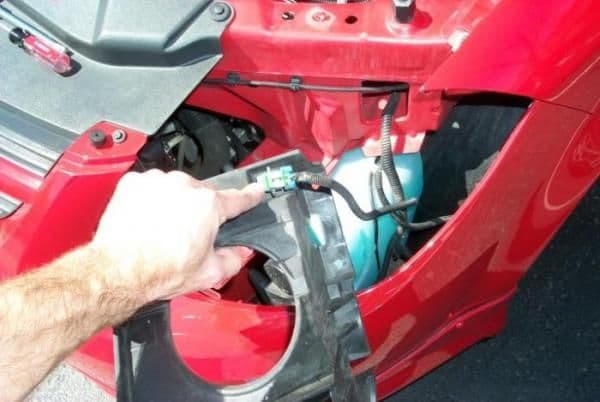
Now unplug the fog light harnesses
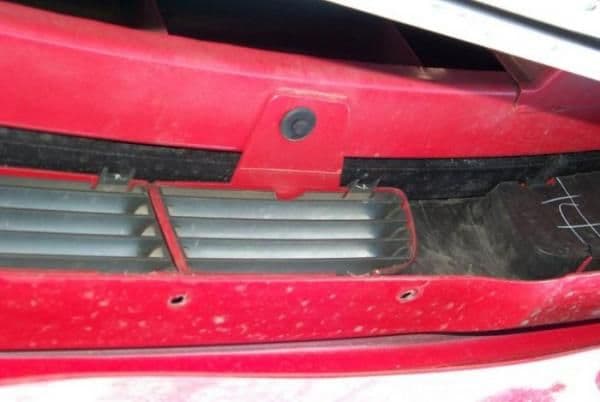
Okay, before leaving the bottom end, don't forget the two big plastic pins under the lower grill.
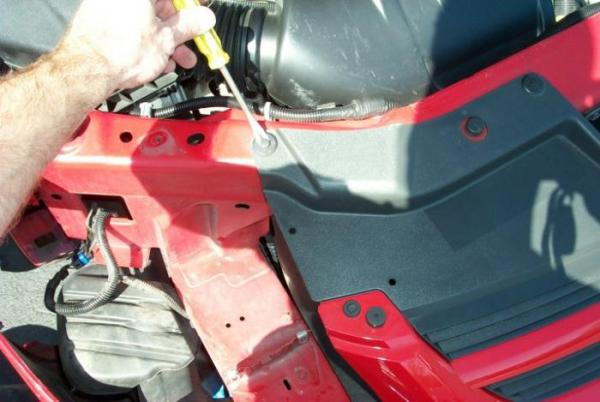
Now you're done underneath. Move up to the headlights. Remove them completely. Start with the bolts that attach the light to the frame:
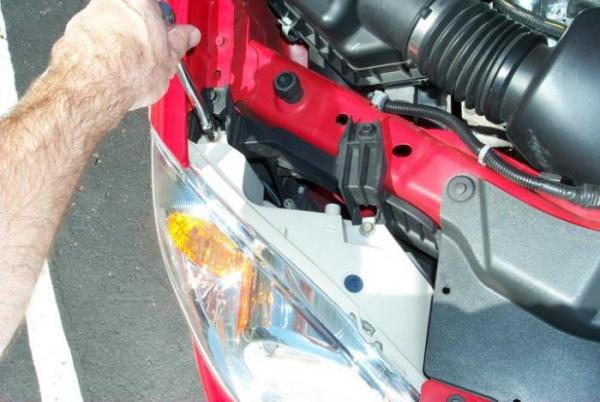
You can tilt the headlight out right now, or continue and take off the frame bolts too.
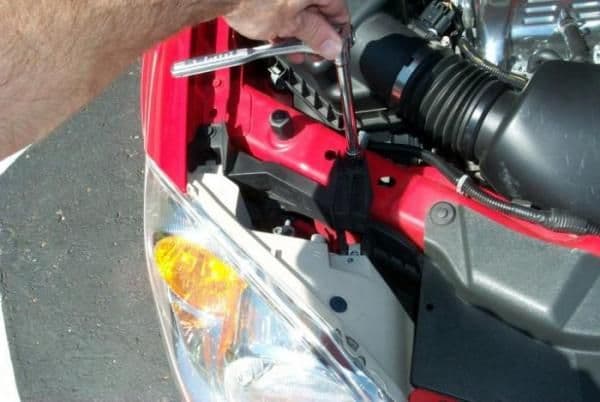
Now you have to tilt the light out. It's a little tricky, you have push the inside of the light in and twist the fixture out. The key is, don't force anything. It will come out smoothly, you just have to wiggle it a little. Here's a different How-To with some good pictures of the angle you need. Unplug the harness and set them aside, and then take off the lower frame bolts.
Okay, on the left headlight (driver side), the OAT (outside air temp) sensor is attached to it. Just unplug the harness and leave it in the frame.
Now take off the grill fasteners up top. You're going to remove the grill along with the facia. It's easier that way.
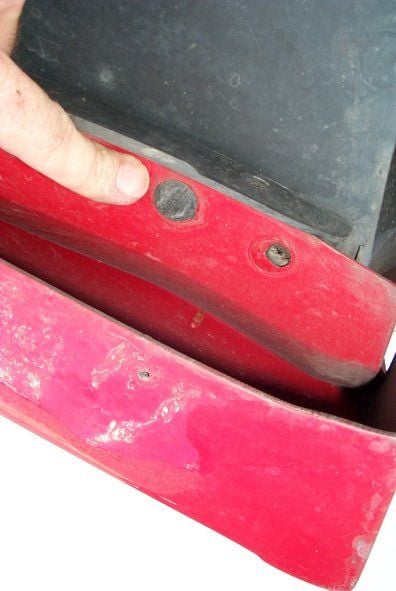
Last spot are the large bolts that attach the facia to the fender. This is why you took the headlight frame off.
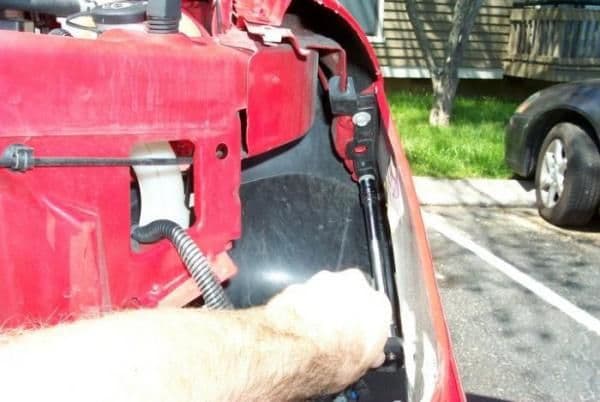
There is a bracket that goes along with those bolts. Keep them together. Don't worry if they get mixed up, they only go on one way.
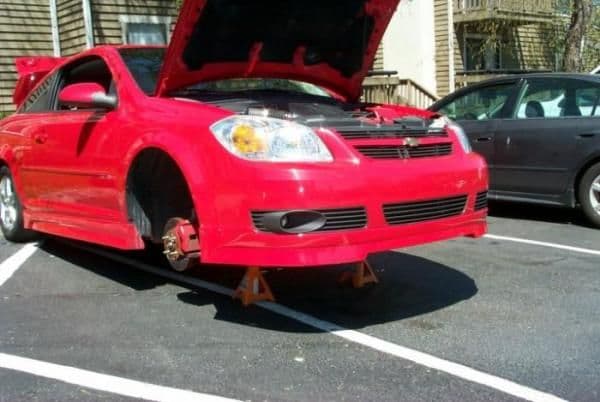
Okay, that's it. Pull the facia off the car.
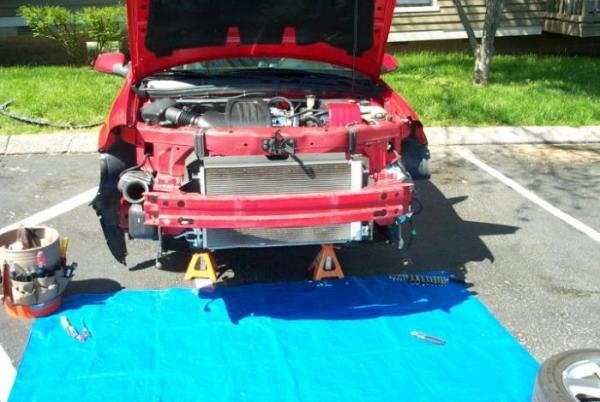
It's been a long time since I've done a good how-to. But this is a good one. At least I hope you'll think so. For some time I've wanted to swap on the SS facia to my LS. Well about 7 months ago I got wacked by a guy that backed into me. Then I moved to Tennessee where there is no front license plate, so I have the drilled holes. So it was time to finally do it. Can't see it too well, but here it is:
mkulrey13 did one a little while ago too if you want to take a look.
In case you have ever wondered if swapping different kinds of facias onto different cars works, it does. There are a couple of issues which I'll show you here. Also, my car has the RK Sport lip on it. You'll see that in the pictures as we go, but don't worry. It doesn't effect anything.
So the first step to any project like this is WASH YOUR SHIT!
Seriously people. I can't tell you how much it pains me to see people working on their nasty ass, filthy cars. A clean car is a happy car, and it's easier to work on.
So here's our project:
Take that thinggy on the left and swap it with the one on the right. Here's what you need:
Jack and Stands
19mm Socket (wheel lugs) and Driver handles
7 and 10 mm nut drivers or sockets
Assorted screw drivers
Torq's bit drivers (for the fog lights)
Start by getting the car jacked up and take off the front wheels.
Now we just start taking off fasteners. Start with the wheel well. Theses are 7mm.
You don't have to completely remove it. After you get it loose from the front, just fold it back for the time being.
Work your way across underneath, removing all of the fasteners for the lower air dam. There is one push-on fastener at each corner.
At this point, the air dam will be removed. This bring us to issue #1.
The air dam will not work on the different facia. It's a different shape. If you are simply replacing your facia directly, no problem. Otherwise, you won't be able to use this part again. So set it and it's fasteners aside.
Now unplug the fog light harnesses
Okay, before leaving the bottom end, don't forget the two big plastic pins under the lower grill.
Now you're done underneath. Move up to the headlights. Remove them completely. Start with the bolts that attach the light to the frame:
You can tilt the headlight out right now, or continue and take off the frame bolts too.
Now you have to tilt the light out. It's a little tricky, you have push the inside of the light in and twist the fixture out. The key is, don't force anything. It will come out smoothly, you just have to wiggle it a little. Here's a different How-To with some good pictures of the angle you need. Unplug the harness and set them aside, and then take off the lower frame bolts.
Okay, on the left headlight (driver side), the OAT (outside air temp) sensor is attached to it. Just unplug the harness and leave it in the frame.
Now take off the grill fasteners up top. You're going to remove the grill along with the facia. It's easier that way.
Last spot are the large bolts that attach the facia to the fender. This is why you took the headlight frame off.
There is a bracket that goes along with those bolts. Keep them together. Don't worry if they get mixed up, they only go on one way.
Okay, that's it. Pull the facia off the car.
Last edited: