

cobalt123
Platinum Member
Disclaimer: I cant take credit for the how-to, if its yours pm me will discuss it there.
So I've been told the glare spots don't show up as well with halogens as they do with HIDs. This post will show you exactly what you need to get rid of the ugly glare spots that you're probably being highbeamed for as you drive.
A big thanks to EvilSS for giving me this info, I would still be pissed with my headlights if I hadn't found his post!
Tools needed:
- 10mm socket (to remove headlight)
- Philips screwdriver (to remove reflector screw)
- coathanger or something skinny (to hold reflector in place)
- Muffler Putty, high temp silicone, or other filler (to fill the hole left by the screw)
- a pen or something with a flat end (to push the filler into the screw hole)
- patience
- a few beers
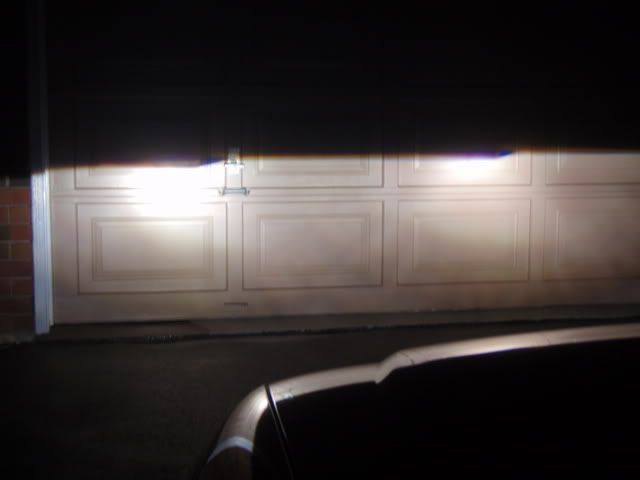
So when you first installed your HIDs in your 3rd gens, you were probably all excited, until you saw this
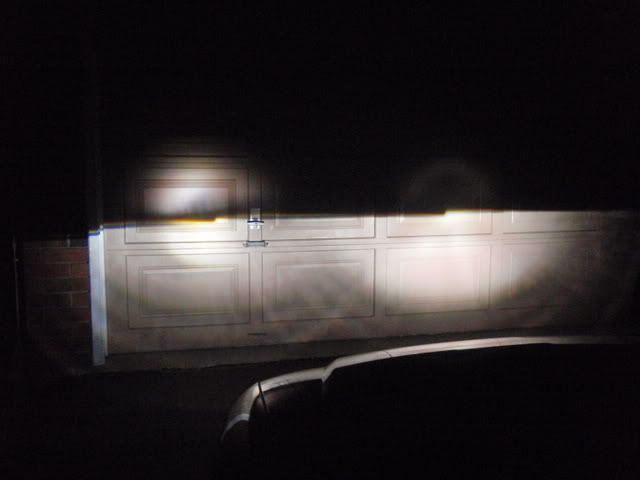
and said WTF?!??!? I tired everything to get rid of this, to no avail, and then one day last week I read a post of EvilSS's which told me what to do. So here it is in how-to form!
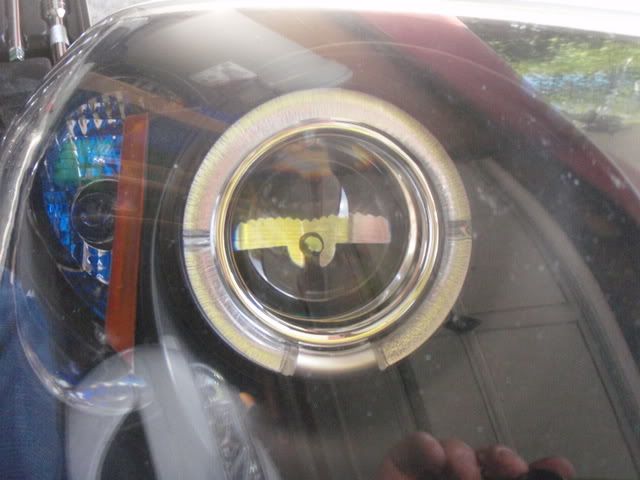
The shiny piece in the reflector housing is the bastard which creates the spots:
So let's start. Grab your 10mm socket and get those headlights out. Since you put the new ones in, I'm gonna figure you're not retarded and know how to do it. Hopefully you wired em up so you can disconnect them easily
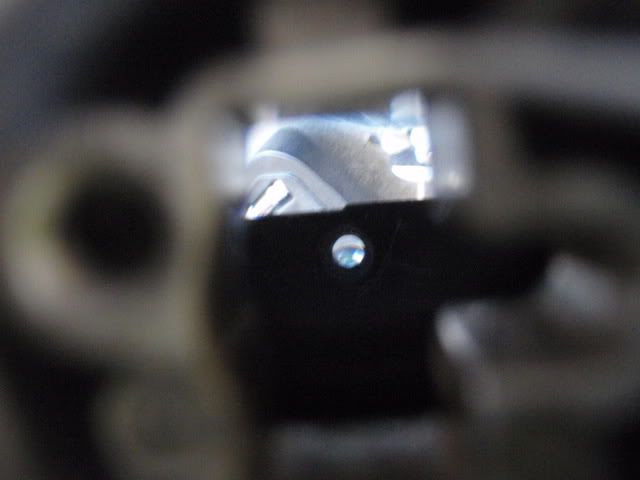
Take the lowbeam bulb out of the projector and set it aside. Look inside the headlight and this is what you see:
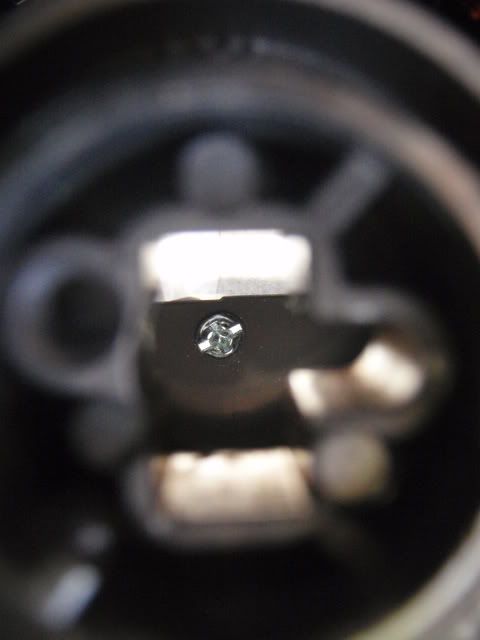
So grab your philips and start unscrewing it. At one point the reflector piece will start to spin, so grab your coathanger, straighten it out, and shove it down inside to stop the piece from spinning around.
If you need to you can look through the front of the headlight to see where the hanger and reflector are. Either way this was a bitch for me, the first light took me 20 min to get the piece off, the 2nd was like 30 secs lol.
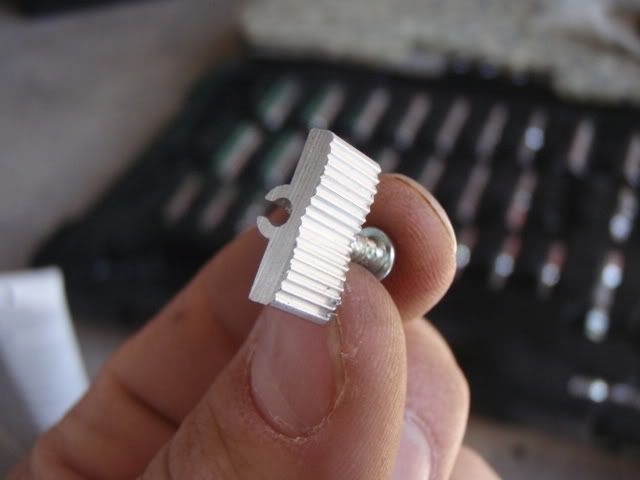
The piece should fall off, so start shaking the headlight to get the reflector and screw to fall out. This is what you're left with:
This is the little reflector:
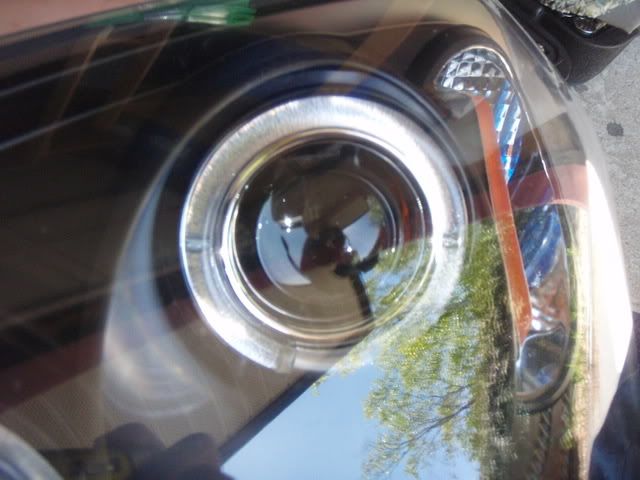
Front of your light should look like this now (reflector piece is missing):
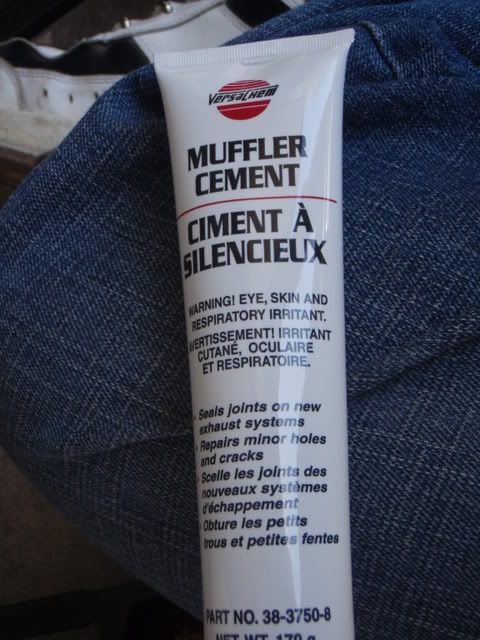
So grab your high temp filler. I grabbed muffler putty from partsource but I don't think you guys have that in the states. Autozone will prolly have some. It cost me about $4 for a tube. It goes on like jelly and hardens up quite fast.. do this part in a shady spot!
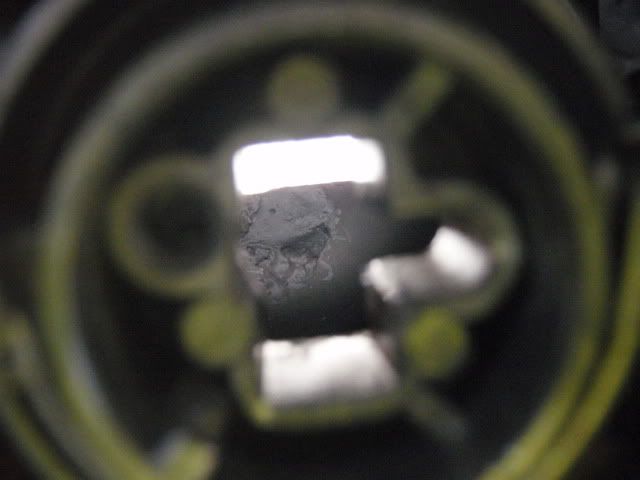
Grab your pen or flatheaded object and smear some on the flat side, and press it down into the headlight on to the cut-off shield where the hole is. Try not to get it on the edge of the cutoff shield or itll show up when you turn your lights on. It took me a few tries but I got them both filled:

Make sure theres no filler left on where the bulb sits, I'm not sure xenon lights would like muffler cement
So now you're done! Easy, would've taken me about 30 min if I didn't have to run out and get the putty, I was hoping the screw would just go back in the hole by itself... but no dice.
And the finished result:
So I've been told the glare spots don't show up as well with halogens as they do with HIDs. This post will show you exactly what you need to get rid of the ugly glare spots that you're probably being highbeamed for as you drive.
A big thanks to EvilSS for giving me this info, I would still be pissed with my headlights if I hadn't found his post!
Tools needed:
- 10mm socket (to remove headlight)
- Philips screwdriver (to remove reflector screw)
- coathanger or something skinny (to hold reflector in place)
- Muffler Putty, high temp silicone, or other filler (to fill the hole left by the screw)
- a pen or something with a flat end (to push the filler into the screw hole)
- patience
- a few beers
So when you first installed your HIDs in your 3rd gens, you were probably all excited, until you saw this
and said WTF?!??!? I tired everything to get rid of this, to no avail, and then one day last week I read a post of EvilSS's which told me what to do. So here it is in how-to form!
The shiny piece in the reflector housing is the bastard which creates the spots:
So let's start. Grab your 10mm socket and get those headlights out. Since you put the new ones in, I'm gonna figure you're not retarded and know how to do it. Hopefully you wired em up so you can disconnect them easily
Take the lowbeam bulb out of the projector and set it aside. Look inside the headlight and this is what you see:
So grab your philips and start unscrewing it. At one point the reflector piece will start to spin, so grab your coathanger, straighten it out, and shove it down inside to stop the piece from spinning around.
If you need to you can look through the front of the headlight to see where the hanger and reflector are. Either way this was a bitch for me, the first light took me 20 min to get the piece off, the 2nd was like 30 secs lol.
The piece should fall off, so start shaking the headlight to get the reflector and screw to fall out. This is what you're left with:
This is the little reflector:
Front of your light should look like this now (reflector piece is missing):
So grab your high temp filler. I grabbed muffler putty from partsource but I don't think you guys have that in the states. Autozone will prolly have some. It cost me about $4 for a tube. It goes on like jelly and hardens up quite fast.. do this part in a shady spot!
Grab your pen or flatheaded object and smear some on the flat side, and press it down into the headlight on to the cut-off shield where the hole is. Try not to get it on the edge of the cutoff shield or itll show up when you turn your lights on. It took me a few tries but I got them both filled:
Make sure theres no filler left on where the bulb sits, I'm not sure xenon lights would like muffler cement
So now you're done! Easy, would've taken me about 30 min if I didn't have to run out and get the putty, I was hoping the screw would just go back in the hole by itself... but no dice.
And the finished result:
Last edited: