

Tom
Full Access Member
This was the least fun mod i have ever done! with that said heres my disclaimer video 1st
my frustration also came from the freezing weather, and fact that i wasted a whole piece of fabric when i laid it on the glue upside down but mostly due to the seat belt bolt lol...
Click the pic to watch.....i cut it down to 19seconds the other 2mins is me rambling on about gm's design flaws lol
Tools needed
---------------
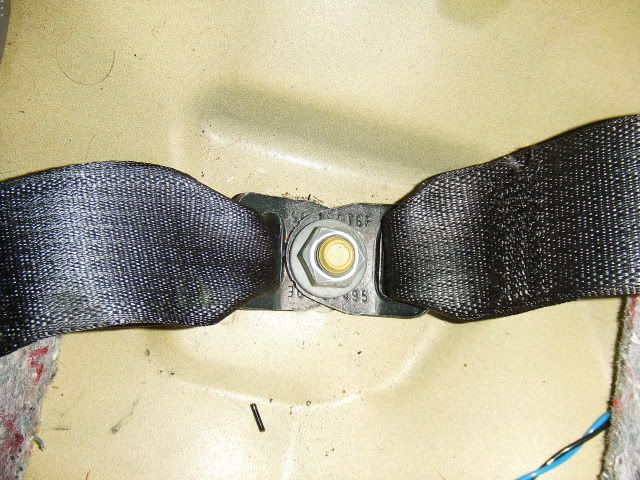
Appropriate Socket and wrench for the seat belts(ill add the socket size later)
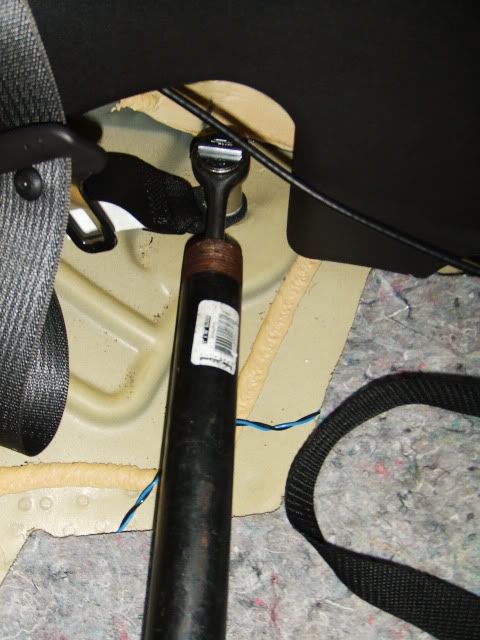
Cheater pipe(for extra leverage for the seatbelt nuts)
Torx bit for panel
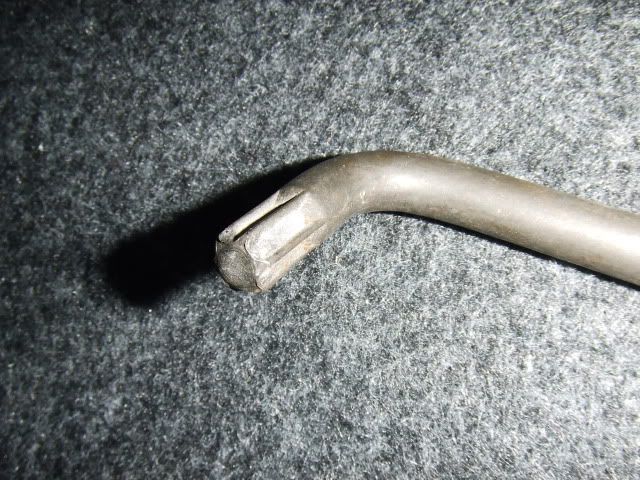
seat belt wrench(pic) or torx wrench
Materials needed
------------------
3m super adhesive
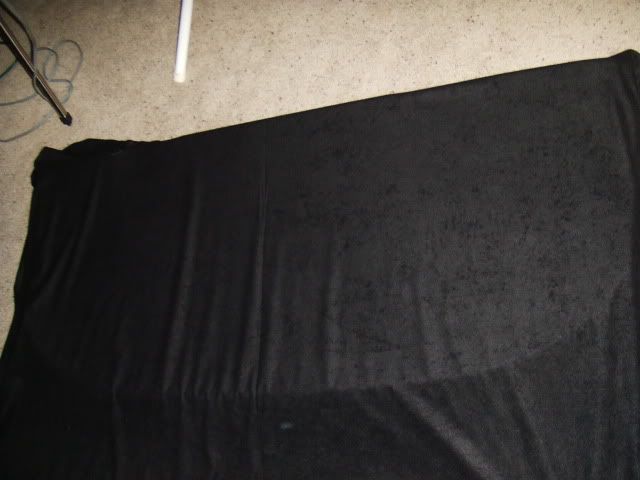
material for wrapping
Step1.Remove the seat cushion, Simply by pushing it forward and lifting up.
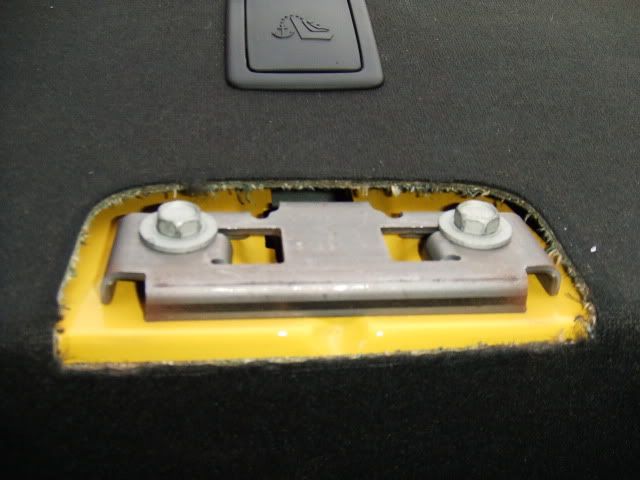
Step2. With the appropriate socket and cheater pipe remove all 3 seat belts.(i will look up the torque for re installation tomorrow)
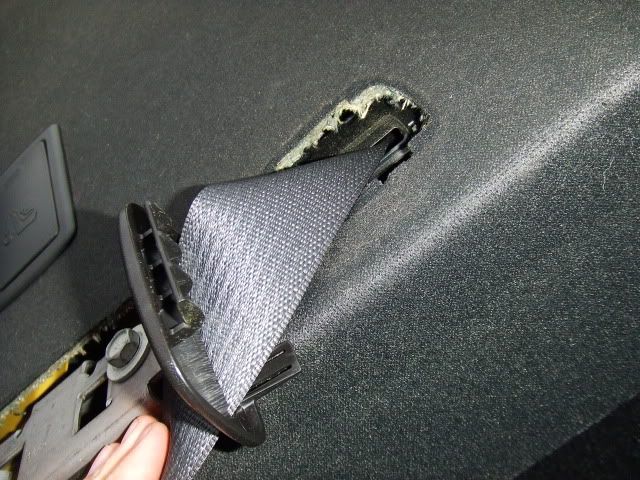
Step3. Fold down your seats, pop off the covers that are around the rear seat latch(2 push fasteners) Then pop out the seat belt covers.
To remove the headrests, pop off the cover and remove these 2 screws, in my case i did not have to, i removed them a long time ago...
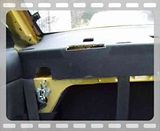
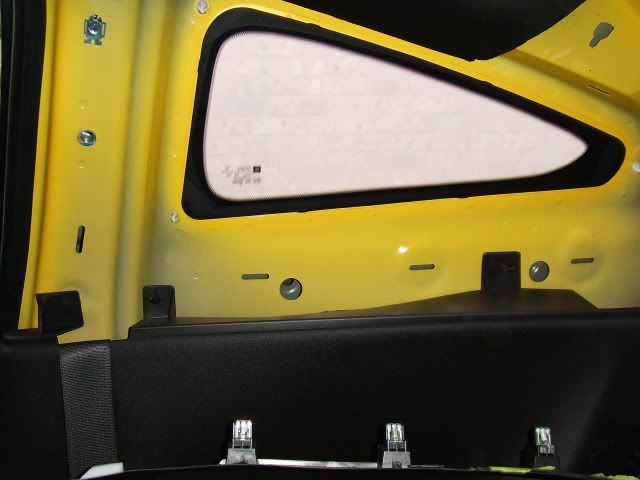
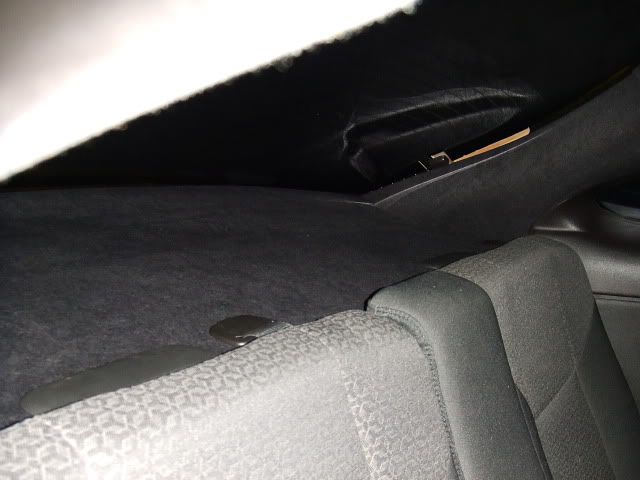
Remove just one of the side panels i mentioned in the video, there is one torx screw behind the cap above the seat belts, then it just pops out, (it may be a little tight)
panel removed
seat belt cap
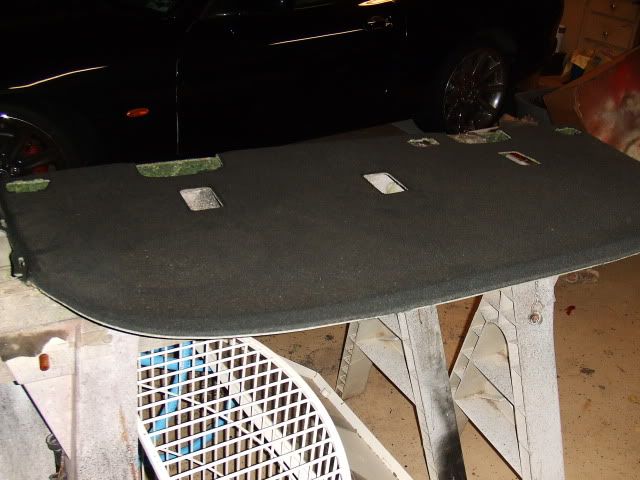
Now you can free up the deck and pull it out sideways.
I did not peel off the old fabric,I figured since gravity is working with me on this one, its not needed...(headliners must be removed to be recovered)
Cut your new material large enough that at least 1-2 inches can fold under the deck
Spray your glue, paying attention to all the edges, don't forget the openings for the seatbelts and child restraints etc.
let the glue tack up for 2-5mins, then lay your material on top, carefully pat it down, working from the middle out, let it sit for 10mins, then flip spray the edges wrap the material around, and cut out your needed openings, i left out the child restraints.
Spray the deck with a generous amount of glue, pay attention to the edges.
Let it dry cut out all the necessary openings and reinstall!
Fin
my frustration also came from the freezing weather, and fact that i wasted a whole piece of fabric when i laid it on the glue upside down
but mostly due to the seat belt bolt lol...Click the pic to watch.....i cut it down to 19seconds the other 2mins is me rambling on about gm's design flaws lol
Tools needed
---------------
Appropriate Socket and wrench for the seat belts(ill add the socket size later)
Cheater pipe(for extra leverage for the seatbelt nuts)
Torx bit for panel
seat belt wrench(pic) or torx wrench
Materials needed
------------------
3m super adhesive
material for wrapping
Step1.Remove the seat cushion, Simply by pushing it forward and lifting up.
Step2. With the appropriate socket and cheater pipe remove all 3 seat belts.(i will look up the torque for re installation tomorrow)
Step3. Fold down your seats, pop off the covers that are around the rear seat latch(2 push fasteners) Then pop out the seat belt covers.
To remove the headrests, pop off the cover and remove these 2 screws, in my case i did not have to, i removed them a long time ago...
Remove just one of the side panels i mentioned in the video, there is one torx screw behind the cap above the seat belts, then it just pops out, (it may be a little tight)
panel removed
seat belt cap
Now you can free up the deck and pull it out sideways.
I did not peel off the old fabric,I figured since gravity is working with me on this one, its not needed...(headliners must be removed to be recovered)
Cut your new material large enough that at least 1-2 inches can fold under the deck
Spray your glue, paying attention to all the edges, don't forget the openings for the seatbelts and child restraints etc.
let the glue tack up for 2-5mins, then lay your material on top, carefully pat it down, working from the middle out, let it sit for 10mins, then flip spray the edges wrap the material around, and cut out your needed openings, i left out the child restraints.
Spray the deck with a generous amount of glue, pay attention to the edges.
Let it dry cut out all the necessary openings and reinstall!
Fin
Last edited:
 i was waiting for some one to say that, I had a good laugh watching it
  i was pretty frustrated.