

cobalt123
Platinum Member
cant take credit
And now for the longfully awaited how-to... The Cobalt HID Retrofit!
Note that while the projectors you will be retrofitting are DOT approved, the assembly and customiztion of these headlights are not. Just like any other modification, these are for "off-road" use only. CobaltSS.net and I will not be held accountable if you electrocute yourself or fail your state motor vehicle inspection.")
Keep in mind that this is only a guide as each person's retrofit will be different and unique to their own style and customization
So you have come to the realization that those "Plug and Play" HID Kits and "Halo Projectors aren't for you. This is good. Welcome to the world of pure, unaltered, evenly distributed, non-glareing, High Intensity Discharge Light.
Parts Needed:
1.Cobalt Headlights
2.2 Left Hand Drive (U.S. Spec) D2S Single-Xenon or Bi-Xenon (High/low) Projectors.
3.2 4100k-4300k D2S Xenon Bulbs
4.2 D2S Ballasts
5.1 30A Bosch Type Automotive 12V Relay
6.2 15A Inline fuses
7.1 25A Inline fuse
8.45ft 18 gauge red wire
9.45ft 18 gauge black wire
10.Solder
11.Heat shrink
12.Lots of wire loom
13.9007 bulb
14.10ft 26 gauge red wire
15.10ft 26 gauge black wire
I wouldn't attempt this unless you have access to a dremel or other rotary tool.
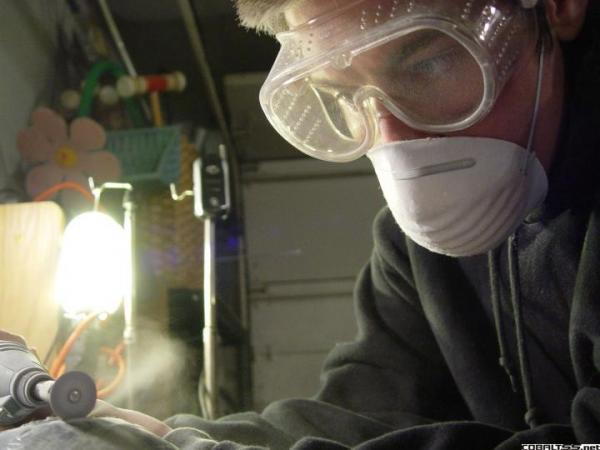
Wear protective gear and work in a well ventelated area. The dust from cutting your headlights could severely injure your lungs
1.To start off, you will need a set of Cobalt Headlamps. You can find these on eBay, your local junkyard, or the classified section on this site.
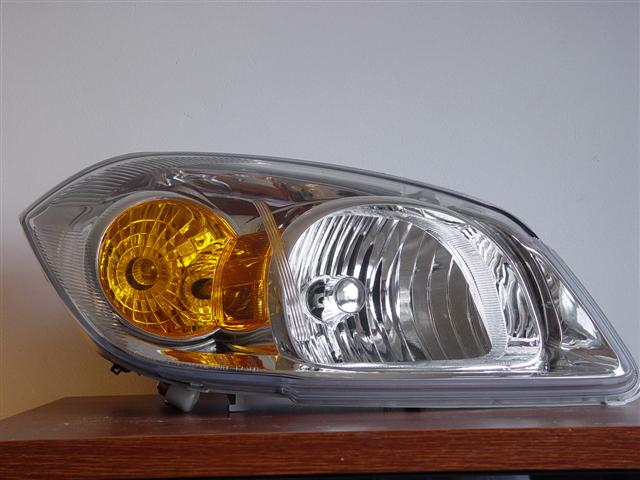
You will need to remove all of the bulbs and the wiring harness from the headlight. Remove the rubber shroud that surrounds the bulb holder. After you have done this, you will need to get the headlamp apart. Some people use an oven but I prefer to use a hairdryer or a heat gun. With your hairdryer or heat gun on high, heat a 6 inch section where the plastic clear lens meets the grey frame of the light. Heat until the seal between is soft. Use a flat head screw driver and start digging and prying the area apart. There are clips at the top and bottom of the light which can be pryed apart after heated. (BE CAREFUL! (use the hairdryer in addtion to the prying to help.) After you have a 6 inch section of the light apart, stick a pen or some other strong object inbetween to keep it apart. Keep working around the light and repeat the previous until the light comes apart.
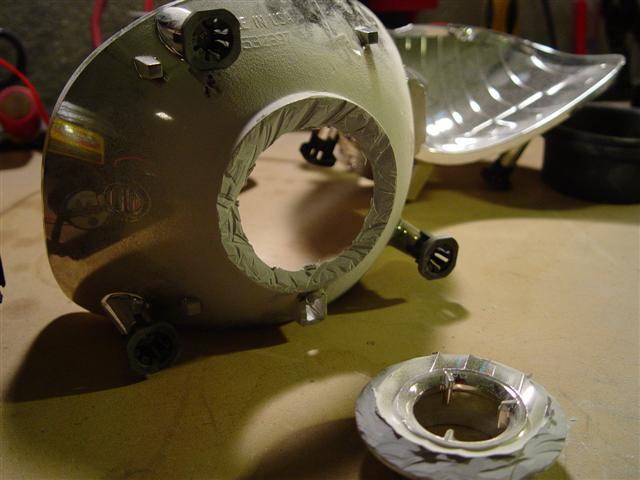
Now the reflective shroud is attachted to the grey frame. Unscrew all of the Hex screws on the back of the light. This should leave you with the reflector attached to the frame. This is where it gets tricky. You must remove this reflector without damaging it. It was very difficult for me to remove this without breaking it. I used my hairdryer and heated up the black plastic clips that hold the reflector to the metal knobs attached to the frame. Then I pryed each clip off by hand. Please be very careful doing this. If for some reason you do damage the reflector by breaking off the peg that is attached to the black clip, you can use superglue to reattach.
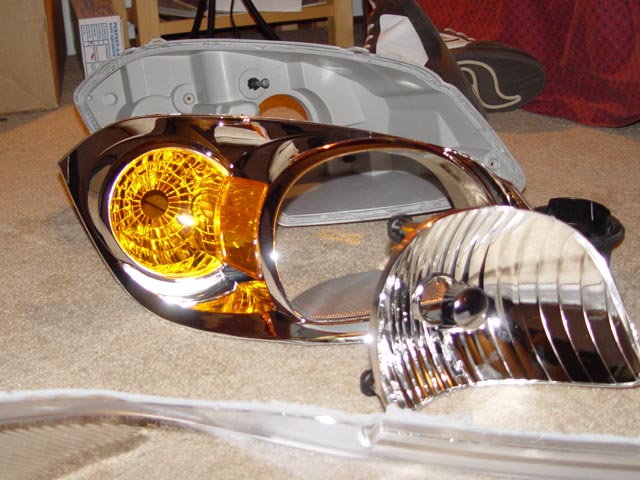
Now you have your reflector isolated.
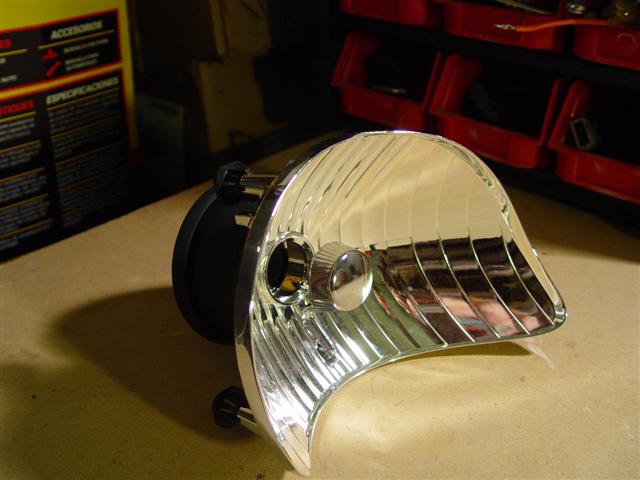
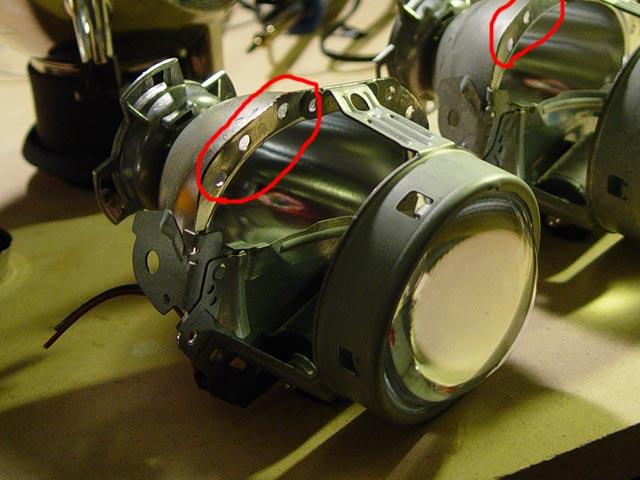
Now you will need OEM HID projectors. These typically take a bulb size D2S. There are HID projectors all over ebay which is where I suggest you look. Linkage. Also, if you are lucky, you can find HID projectors in junkyards on the higher priced luxury cars. I used the Hella E55 Bi-xenon projectors for my project. (Nissan Maxima, Audi A6, BMW 7 Series, Mercedes CLK550)
Bi-xenon projectors will normally have a solenoid attached to the projector that will allow the cutoff shield to move up and down producing a highbeam light.
Depending on what projector you are using, you must cut around where the bulb is inserted in the Cobalt reflector to allow the back of the projector to pass through.

You must cut from the center of the cobalt bulb holder because this will allow the back of the projector to pass through the stock hole in the frame of the headlight.
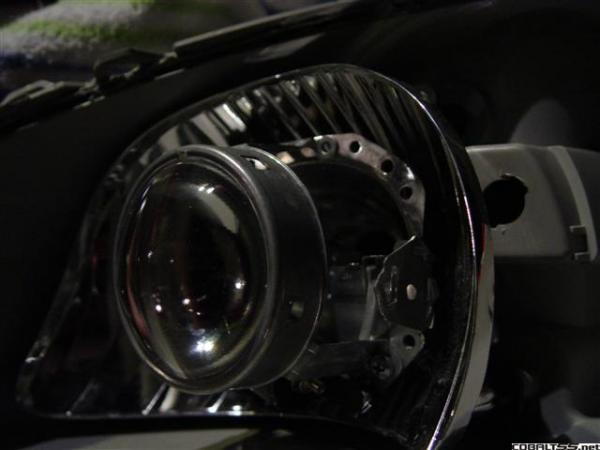
Most projectors have screw holes around the middle of the projector.
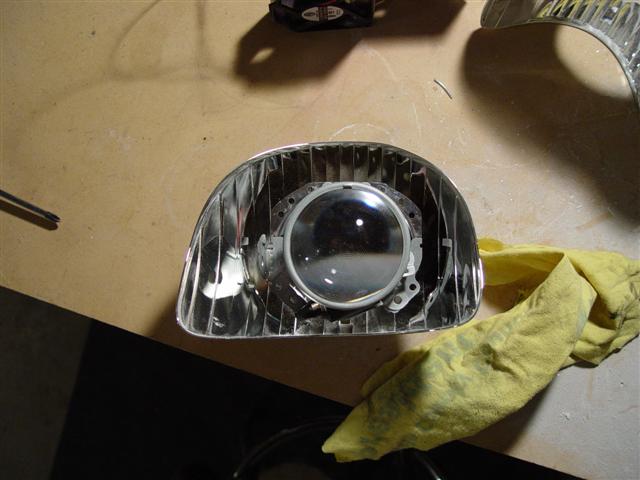
You will need to get the according bolt to fit through these holes. Getting the projector to sit in the reflector properly is another tricky part.
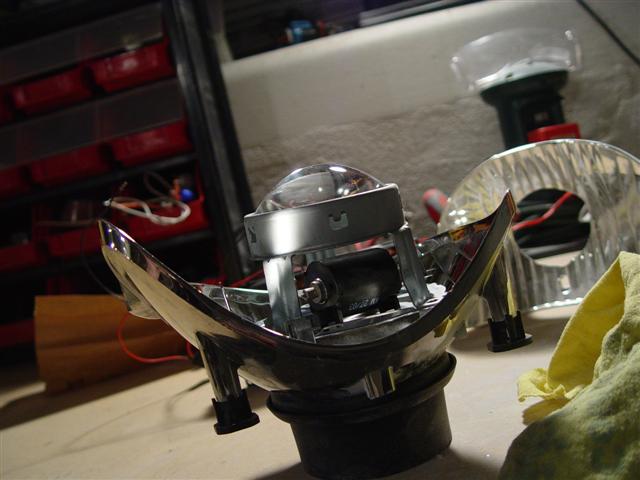
If you can see the cutoff shield between the projector lens and projector reflector bowl, make sure it is on the bottom. (Nobody wants an upside projector!) You are going to have to drill holes in the back of the reflector to match up to the screw holes on your projector. For my retrofit, I used small springs and wingnuts to allow me to adjust the angle of the projector.

(keep in mind that since you are installing the projector to the stock reflector, you will have some adjustability after install.) Get the projector as straight as you can in the cobalt reflector. Now attach the cobalt reflector with projector installed back onto the headlight frame.
Aiming:
